The Ultimate Guide On How To Use Whirlpool Self-Cleaning Oven
Cleaning an oven can be a tedious and messy task, but it’s necessary to maintain the appliance and ensure that it operates efficiently. With the introduction of whirlpool self-cleaning ovens, cleaning your oven has become much more comfortable and faster. These ovens use high heat to burn off food residues, leaving behind a clean and shiny oven. In this blog post, we will provide you with a complete guide on how to use whirlpool self cleaning oven.
Preparing Your Whirlpool Self-Cleaning Oven For Cleaning
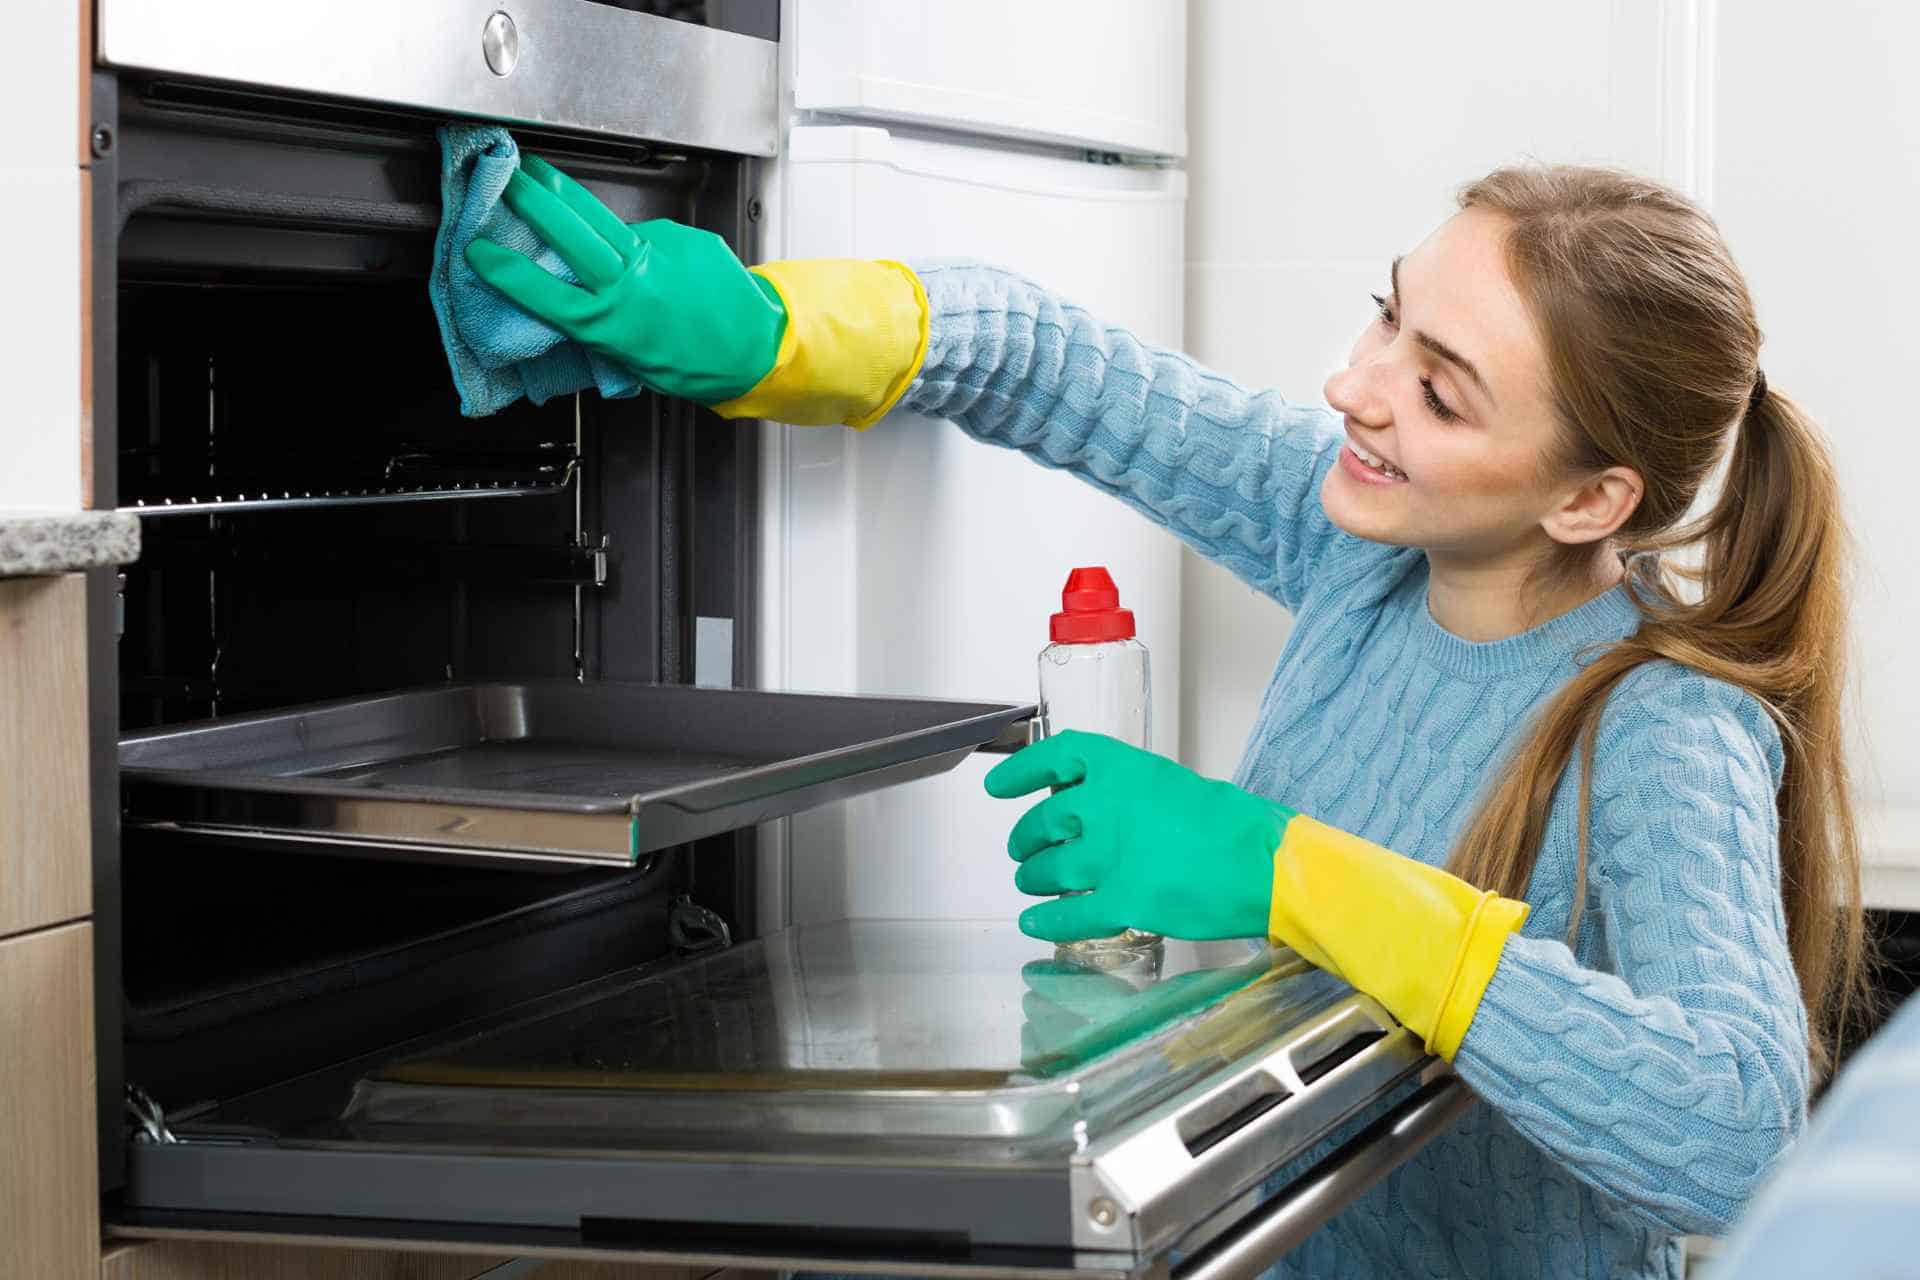
The first step in cleaning your Whirlpool self-cleaning oven is to ensure that you have the right supplies ready at your disposal. You’ll need a few things, including a pair of rubber gloves, a damp cloth, a sponge or soft cloth, and baking soda.
Before you begin the process, it’s essential to read the manual that comes with your Whirlpool self-cleaning oven. This manual provides in-depth information about the cleaning process and warns about things to avoid when cleaning your oven.
You may also like:
Getting to Know Your Whirlpool Self-Cleaning Oven
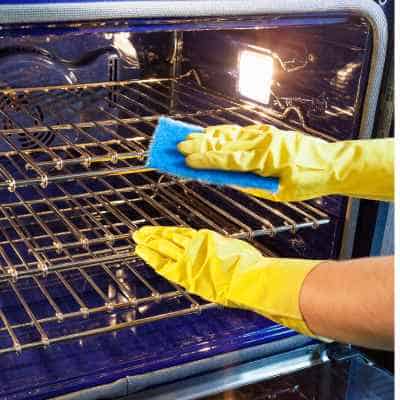
Keeping your oven clean is essential, especially if you love to cook. Not only does a clean oven ensure that your food stays free from any unwanted residue or grime, but it also helps to prevent any accidents or fires. While cleaning an oven can be a tedious task, Whirlpool has made it easy with its self-cleaning ovens.
What is a self-cleaning oven?
A self-cleaning oven is a type of oven that has a built-in cleaning function that uses high temperatures to burn off and break down any food residue or grease in the oven. The oven locks itself during this time, so it is essential to remove any racks or cookware before starting the self-cleaning cycle. Whirlpool self-cleaning ovens typically take between 2-4 hours to complete the cleaning cycle.
how to use whirlpool self cleaning oven?
Using your Whirlpool self-cleaning oven is effortless. Start by removing any oven racks or cookware from the oven. Then, set the oven temperature to the cleaning cycle and let it run for the recommended time. Once the cycle is over, allow the oven to cool before wiping it down with a damp cloth.
What to do if your Whirlpool Self-Cleaning Oven doesn’t work?
If you find that your Whirlpool self-cleaning oven is unresponsive or does not work, you may want to check the power supply. Make sure the oven is properly plugged in and that the circuit breaker has not been tripped. If the problem persists, you may need to call in a professional to help you diagnose and fix the issue.
How often should you clean your Whirlpool Self-Cleaning Oven?
It is recommended to clean your Whirlpool self-cleaning oven at least once every three months. If you use your oven often or cook for a large family, you may need to clean it more frequently. Keeping your oven clean not only ensures that your food stays free from any unwanted residue or flavors but also helps prevent accidents.
What not to do when cleaning your Whirlpool Self-Cleaning Oven?
When cleaning your Whirlpool self-cleaning oven, there are a few things you should avoid. Firstly, do not use any commercial oven cleaners as they can be harsh and damage the oven’s interior. Secondly, do not use any abrasive scrubbers or sponges as they can scratch and damage the oven’s surface. Finally, avoid using any water or cleaning solutions on the oven door’s glass as it can cause it to crack or shatter.
How to start a self-cleaning cycle in your oven
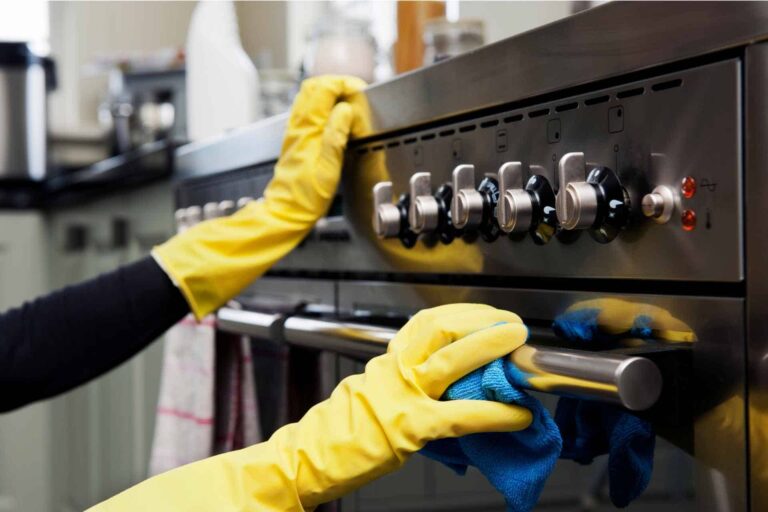
Before you start the self-cleaning cycle, make sure you remove any racks or other bakeware from the oven. These items can become damaged by the extreme heat of the cycle, and can also interfere with the oven’s cleaning process. Also, check your oven’s manual for any special instructions or precautions specific to your model.
Now, it’s time to start the self-cleaning cycle. Turn your oven on and look for the self-cleaning button or option on your oven’s control panel. Some ovens may require you to set a certain temperature or duration for the cycle, while others may have a one-touch button. Follow the instructions for your particular oven.
Once you’ve started the cycle, your oven will heat up to a very high temperature, typically around 900 degrees Fahrenheit. This extreme heat will cause any food residue or grease inside the oven to turn to ash, which you can then easily wipe away. The entire cycle can take anywhere from two to six hours, depending on the oven.
While the self-cleaning cycle is going on, it’s important to keep your kitchen well-ventilated. This means opening a window or turning on a fan, as the process can create a lot of smoke and odor. You may also want to remove any sensitive items from your kitchen that could be damaged by heat or smoke.
Once the cycle is complete and your oven has cooled down, you can open the door and wipe away the ash with a damp cloth or sponge. If there are any particularly stubborn spots, you can use a gentle cleaner or baking soda paste to help remove them. Remember, never use harsh chemicals or abrasives on your oven, as this can damage the surfaces and affect its performance.
Everything You Need to Know About Cleaning Your Oven During the Self-Cleaning Cycle
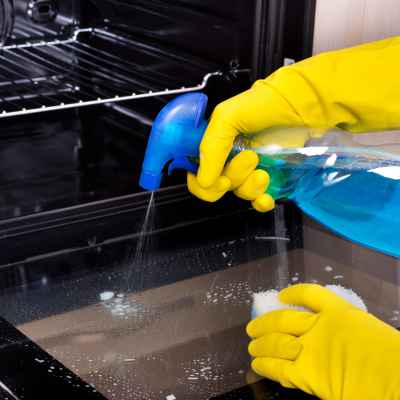
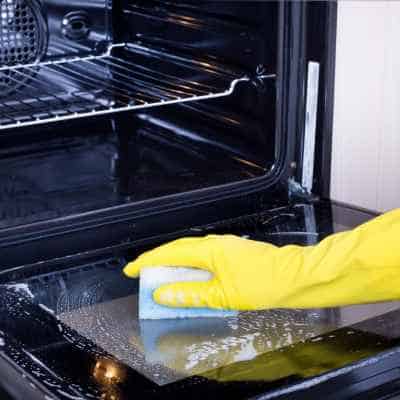
Cleaning the oven can be quite a daunting task, especially when faced with the buildup of grease and grime over time. However, fear not, for there is a solution: the self-cleaning cycle. This marvelous feature, commonly found in modern ovens, takes away the hassle of manual oven cleaning. But before you activate this magical function, there are a few important considerations to keep in mind.
What is a self-cleaning cycle?
The self-cleaning cycle is a function that’s found in most modern ovens. It usually involves heating the oven to a high temperature, between 800 to 900 degrees Fahrenheit range, to burn off any residue or food that is on the walls or base of the oven. This process typically lasts up to three hours, and it can vary depending on the oven manufacturer.
Precautions to take before using the self-cleaning cycle
Before starting the self-cleaning cycle, there are a few things you need to do to prepare your oven. Firstly, remove any excess food debris or loose debris from your oven. You should also remove any oven racks or cooking utensils that may be inside the oven. Another critical precaution is to ensure that your kitchen is well-ventilated by opening windows or turning on the extractor fan. The self-cleaning process produces heat and fumes that can be harmful to your respiratory system if inhaled.
Advantages of the self-cleaning cycle
The self-cleaning cycle has a few advantages over cleaning your oven manually. First, it saves time, as you don’t have to scrub the inside of the oven for hours. Second, it’s a convenient method of cleaning, as you don’t need to purchase expensive cleaning products or use harsh chemicals to clean your oven. Third, it’s an efficient way to clean, as it reaches every nook and cranny, ensuring your oven is thoroughly cleaned.
Cleaning your oven after the self-cleaning cycle
After the self-cleaning cycle is complete, allow your oven to cool down before cleaning it. Once the oven has cooled, use a damp cloth or sponge to wipe any remaining ash or residue from the inside of the oven. You may also need to clean the oven door as it may have streaks or spots from the self-cleaning process. Avoid using chemical-based cleaning products as they can damage your oven. Instead, use warm water with baking soda to dissolve any remaining dirt.
When not to use the self-cleaning cycle
Even though the self-cleaning cycle is a convenient and efficient way to clean your oven, there are some situations where you shouldn’t use it. For example, if your oven has a significant amount of grease or food debris, we recommend that you clean it manually first before using the self-cleaning cycle. Also, if your oven is old, we advise you not to use the self-cleaning cycle, as it can cause damage to your oven.
How to Clean Your Oven Racks and Accessories the Right Way
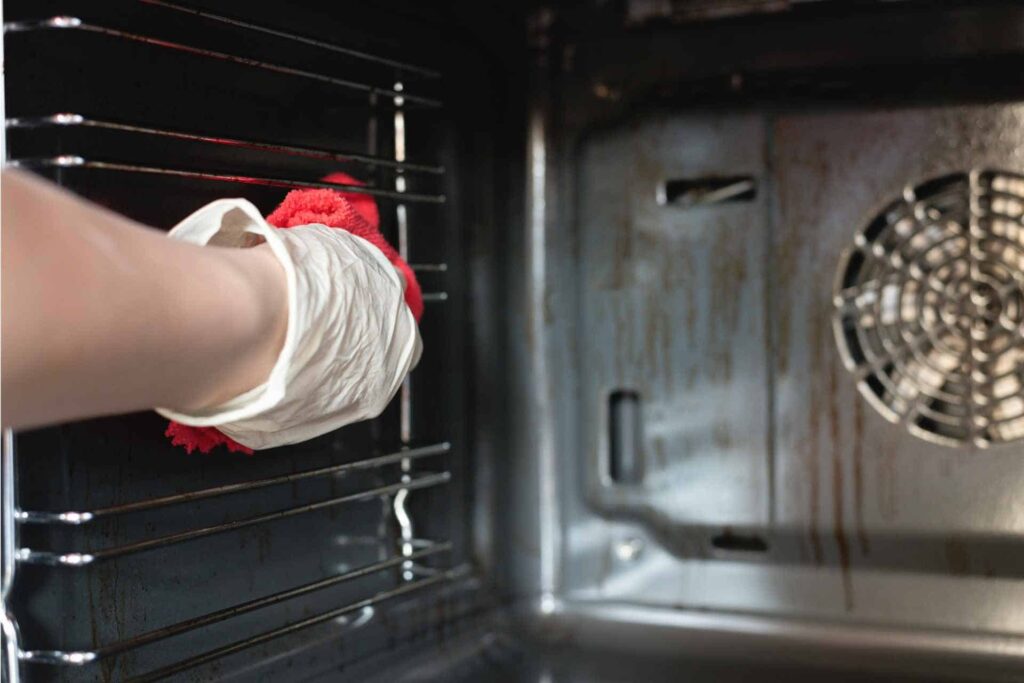
Are you tired of the hassle of dealing with the built-up grease and grime on your oven racks and accessories? Dirty oven racks and accessories not only give your kitchen an unappealing appearance but can also introduce unpleasant odors and flavors to your food. Maintaining a clean and hygienic oven is crucial, especially if you frequently use it.
Prepare the cleaning solution
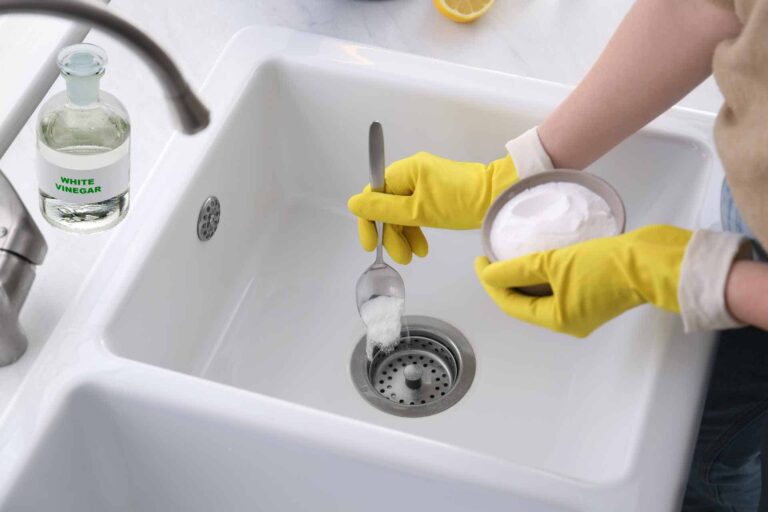
Before you begin to clean your oven racks and accessories, you will need to create a cleaning solution. There are several options to choose from, but we recommend using a combination of dish soap, baking soda, and water. Mix these ingredients in a large pan or bathtub.
Soak the racks and accessories
Once you have prepared the cleaning solution, begin to soak the oven racks and accessories in the solution. The mixture of dish soap, baking soda, and water will help to break down the grease and remove the dirt and grime easily. Let the racks and accessories soak for a few hours or overnight.
Scrub and clean
After soaking, use a scrub brush to remove any remaining grime or grease from the racks and accessories. Use hot water and dish soap to get rid of any stuck-on food and grime. Scrub the racks and accessories until they are clean and shiny. If there are any remaining stains, use baking soda to scrub them away. Rinse the racks and accessories with warm water once they are clean.
Dry the racks and accessories
After cleaning the racks and accessories, dry them completely before putting them back inside your oven. You can use a clean cloth or towel to dry them or air-dry them in a sunny spot. Drying the racks and accessories will help prevent rust and damage.
Maintenance and prevention
Cleaning your oven racks and accessories should become a regular routine. By soaking them in a cleaning solution and scrubbing them clean, you can avoid future buildup of grime and bacteria. To prevent future grime buildup, you can cover the bottom of your oven with foil or a drip tray to catch any spills. Additionally, wiping down the interior of your oven after cooking can help to keep it clean and prevent grime from accumulating.
Guide to Using Self-Cleaning Ovens Safely
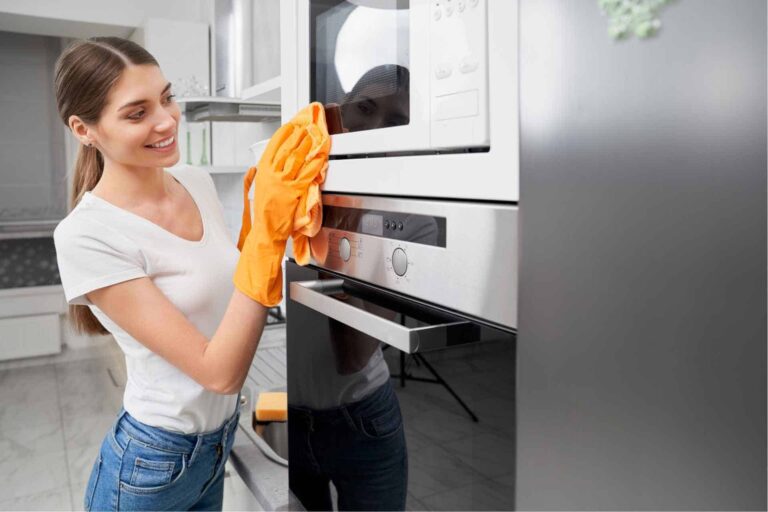
Cleaning your oven is often the least appealing task on your to-do list. It’s a chore that demands significant effort, time, and patience. Fortunately, modern ovens now offer self-cleaning features that simplify and expedite the cleaning process. However, many individuals avoid utilizing this function due to concerns about potential fire hazards or the release of harmful fumes. To ensure that your oven cleaning sessions are both safe and effective, here’s an in-depth guide to using self-cleaning ovens safely:
Read the Manual First
The first step to using your oven’s self-cleaning feature safely is to read the manual. The manual will provide you with valuable information on how to operate the feature, what to do before and after cleaning, and what safety precautions to take. You’ll also learn what types of materials should not be placed in the oven during cleaning, such as aluminum foil or plastic.
Remove Debris and Spills
Before using the self-cleaning feature, make sure to remove any debris or spills on the oven’s interior. This will prevent the debris from catching fire or emitting toxic fumes during the cleaning process. You can use a damp cloth or sponge to wipe away the debris and spills, and then let the oven dry completely before starting the cleaning cycle.
Keep the Kitchen Well-Ventilated
Self-cleaning ovens use high temperatures to burn off debris and spills. This can result in a lot of smoke and heat being emitted from the oven. To avoid setting off smoke alarms or suffocating from the fumes, make sure to keep the kitchen well-ventilated during the cleaning process. Open windows and doors, turn on the exhaust fan or use a portable fan to circulate the air.
Stay Near the Oven, But Don’t Open the Door
Once you’ve started the self-cleaning cycle, stay near the oven to monitor its progress. However, don’t open the oven door during the cleaning process, as this can release toxic fumes and affect the cleaning cycle. Also, make sure not to touch the oven during cleaning, as it will be extremely hot.
Wait for the Oven to Cool Down
Once the cleaning cycle is over, wait for the oven to cool down before opening the door. This can take anywhere from one to six hours, depending on the oven model. Opening the door while the oven is still hot can be dangerous and can cause burns. Once the oven is cool, wipe away any remaining ash or debris with a damp cloth or sponge.
Ditch the Traditional Oven Cleaning Methods: Why You Should Go for a Self-Cleaning Oven
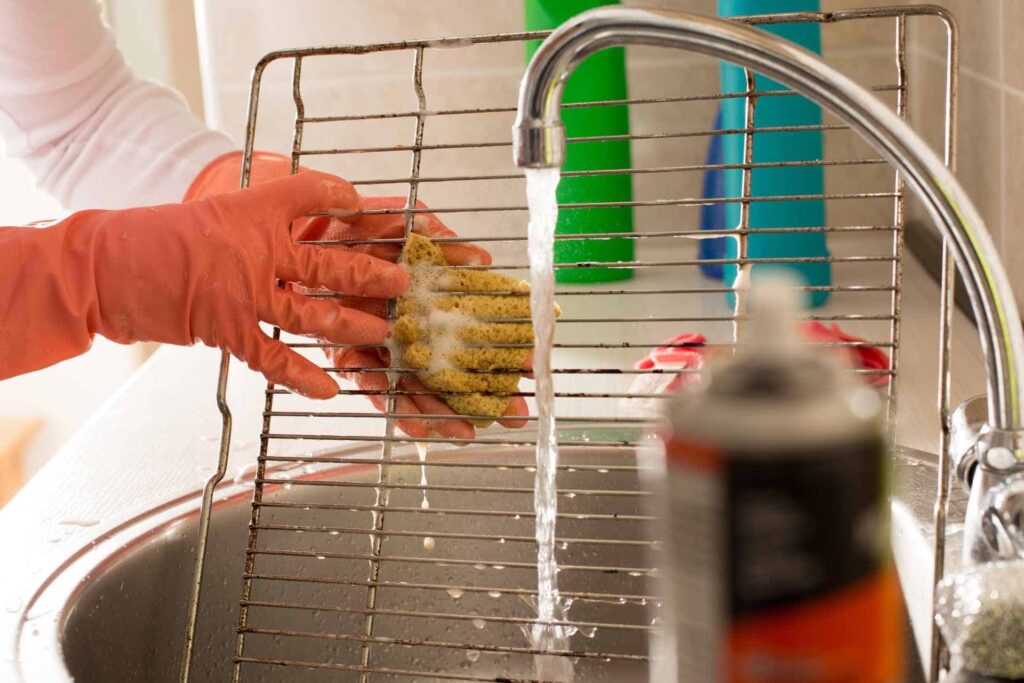
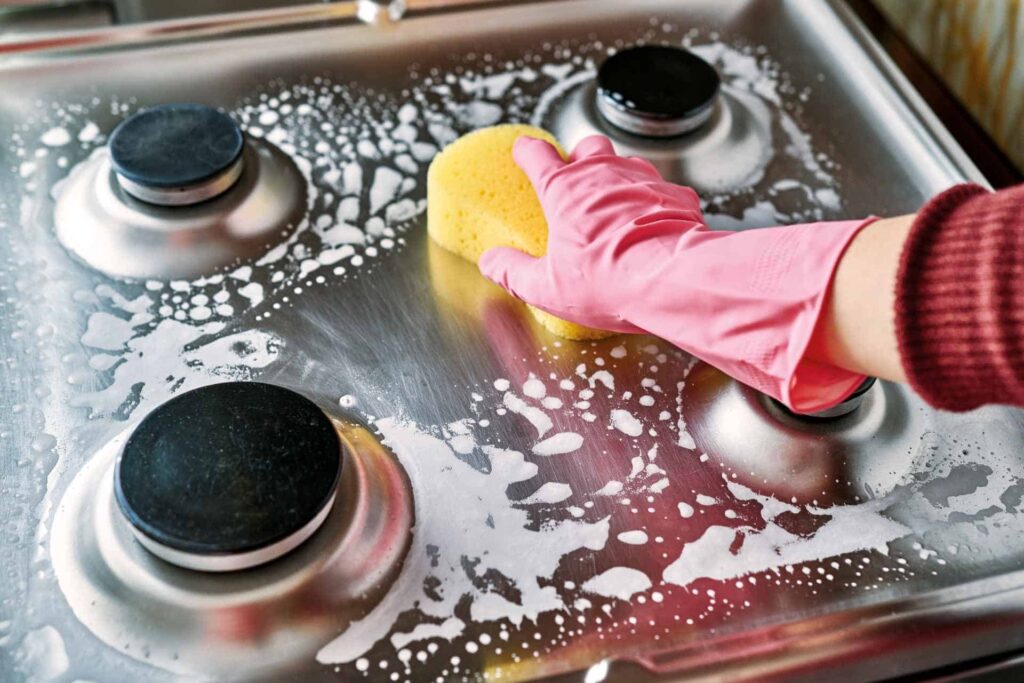
Cleaning an oven is not always easy, and it can be a time-consuming process. Traditional oven cleaning methods would require you to get down and dirty with harsh chemicals and scrub it yourself. Not only is it a tedious task, but it can also be harmful to your health. Luckily, there is an alternative option – a self-cleaning oven. In this blog post, we will compare traditional oven cleaning methods with the efficiency of self-cleaning ovens.
Traditional Oven Cleaning Methods
The traditional method of cleaning an oven would require you to use chemical cleaners and abrasive materials to scrub off burnt-on food and grease. This process can involve a lot of scrubbing, scraping, and elbow grease. Not only is it time-consuming, but it can also be physically demanding. Moreover, this method of cleaning can also damage the oven’s interior surface and affect its lifespan.
Self-Cleaning Ovens
Self-cleaning ovens have become increasingly popular these days because of their efficiency and convenience. The self-cleaning feature works by heating the oven to extremely high temperatures, which turns any leftover food and grease into ash. Once the oven reaches the set temperature, you only need to wipe off the ash with a damp cloth, and your oven is ready to use again. Additionally, the self-cleaning feature also saves you the cost of buying chemicals and other cleaning supplies.
Benefits of a Self-Cleaning Oven:
There are several benefits to choosing a self-cleaning oven over a traditional oven-cleaning method. Firstly, it saves you time and effort. You no longer have to spend hours scrubbing the oven to get it clean. Secondly, self-cleaning ovens are environmentally friendly and safe to use. You don’t have to worry about harmful chemicals that can cause indoor air pollution, which is common in traditional oven cleaning methods. Lastly, self-cleaning ovens tend to last longer. The high-heat cleaning process removes any grease and food residues, which reduces the risk of staining and damage to the oven’s interior.
How to Maintain a Self-Cleaning Oven
To maintain your self-cleaning oven, always follow the manufacturer’s instructions. Avoid using harsh chemicals or abrasive materials to clean the interior surface, as it can damage the enamel finish. Instead, use a damp cloth to wipe off any remaining ash, and your oven should remain clean and functional for many years. Additionally, make sure to clean the oven’s exterior regularly to maintain its appearance.
Conclusion
Once you’ve utilized the self-cleaning feature, your oven will be restored to its pristine state. Say goodbye to the hassle and mess associated with traditional cleaning methods. Not only does this save you time, money, and effort, but it also makes self-cleaning ovens a worthwhile investment for your home.
By implementing these simple tips and tricks for maintaining your Whirlpool self-cleaning oven, you can ensure optimal performance and a spotless kitchen. Always refer to your owner’s manual for specific guidelines on using and maintaining the appliance. With a little care, your oven will remain in top condition, serving up delicious meals for years to come!

