The Ultimate Guide: How to Clean Kitchen Cabinets Without Removing Finish
A clean kitchen is not just a culinary haven, but also the cornerstone of a healthy home. Amidst many focal points in a kitchen, cabinets, often overlooked, play an essential role in maintaining overall cleanliness. They accumulate grease, food splatters, and layers of dust, impacting not only their visual appeal but also their longevity. The primary concern, however, is to clean them without stripping off the finish, as it not only enhances their aesthetic value but also serves as a protective layer. This guide aims to provide detailed insights on ‘how to clean kitchen cabinets without removing finish’. It’s designed to help you maintain your kitchen’s shine, ensuring your cabinets look their best while preserving their finish and extending their lifespan. Let’s embark on this journey to a cleaner and healthier kitchen.
Understanding Your Kitchen Cabinets
Before diving headfirst into cleaning, it’s critical to familiarize yourself with your kitchen cabinets. Cabinets can be made from a variety of materials including solid wood, laminate, or thermofoil, each with unique characteristics that influence their cleaning requirements. The finish on your cabinets also plays a significant role, as it can range from painted to stained, lacquered, or varnished. Understanding the material and finish of your cabinets will help you select the most effective and safe cleaning methods and products, ensuring you achieve optimal results without causing unnecessary damage.
Types of Kitchen Cabinet Materials

There is a wide variety of materials manufacturers use to build kitchen cabinets. These are some of the most common:
- Solid Wood: One of the most popular and durable materials for kitchen cabinets. It comes in a wide array of types, including oak, cherry, and maple, each with unique grain patterns and colors.
- Plywood: A versatile and resilient material, able to withstand heavy usage. It’s often covered with a veneer of real wood for a more pleasing look.
- Medium-Density Fiberboard (MDF): This engineered wood product is made from wood fibers combined with resin under high pressure. It’s a cost-effective and stable material that resists warping.
- Particle Board: Made from compressed wood chips and resin, particle board is an affordable option. However, it may not stand up as well to heavy use and moisture compared to other materials.
- Stainless Steel: A modern material often used in commercial or contemporary-style kitchens. It’s durable, easy to clean, and resistant to heat and moisture.
- Laminate: Made by bonding layers of plastic to particle board to create a solid surface. It’s available in a wide range of colors and patterns and is known for its resistance to stains, scratches, and heat.
- Thermofoil: A plastic material applied to medium-density fiberboard (MDF) under heat and pressure. The result is a surface that is durable, easy to clean, and available in many different finishes, including realistic imitation wood grains.
Understanding the type of material your kitchen cabinets are made from will help guide your cleaning approach and ensure their longevity.
How the finish on these materials can be affected by cleaning
The type of finish on your kitchen cabinets can significantly influence its reaction to cleaning methods. Solid wood, when finished properly, can withstand most cleaning products, but abrasive cleaners should still be avoided to prevent scratching. Plywood, MDF, and Particle Board typically have a veneer or laminate coating which can be sensitive to moisture and harsh cleaning chemicals, potentially causing warping or discoloration. Stainless steel is highly resistant to most cleaning products, though care should be taken to avoid scratching the surface with abrasive materials. Laminate and Thermofoil finishes are resistant to most stains and easy to clean, but they can be damaged by heat or overly aggressive scrubbing. Always remember to test any cleaning solution on an inconspicuous area first to ensure it won’t damage the finish.
Tools Required for Cleaning Kitchen Cabinets
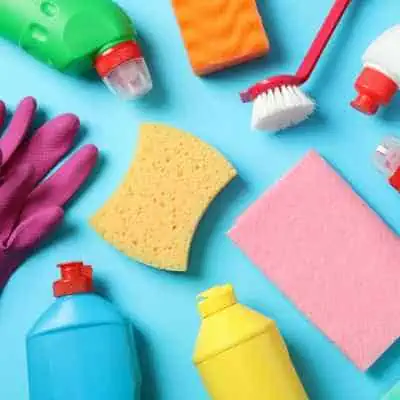
Depending on the material and finish of your kitchen cabinets, you will require different tools for effective cleaning. Here is a general list:
- Soft, Lint-Free Cloths: Ideal for all types of surfaces as they do not scratch or leave residues.
- Mild Detergent: Suitable for most materials, it helps remove grease and grime without damaging the surface.
- Non-Abrasive Sponge: Useful for gently scrubbing stubborn stains.
- Baking Soda: Acts as a natural abrasive for tougher stains on sturdy materials.
- Vinegar Solution: A diluted vinegar solution can act as a natural, non-harsh cleaner for many surfaces.
- Toothbrush: Handy for reaching corners and crevices where dirt tends to accumulate.
Remember, the most crucial tool is knowledge. Understanding the material and finish of your cabinets will guide your choice of cleaning tools. Always start with the gentlest cleaning methods, and escalate only when necessary.
How to Clean Kitchen Cabinets Without Removing Finish: Step-by-step Guide

Maintaining the pristine condition of your kitchen cabinets is not just about aesthetic appeal—it’s also about ensuring longevity. However, the cleaning process isn’t always straightforward. Different materials and finishes require diverse cleaning methods, and the wrong approach can lead to damage. In this section, we will provide a step-by-step roadmap to cleaning your kitchen cabinets without removing or damaging the finish. From understanding the right tools to use to the actual cleaning process, we’ll ensure you are well-equipped to keep your cabinets looking their best.
Step 1: Preliminary Dusting

Before diving into the detailed cleaning process, it’s crucial to begin with a preliminary dusting. Dust and loose dirt can scratch the surface of your cabinets when scrubbed, leading to unnecessary damage. To perform this task, you’ll need a soft, lint-free cloth, which is gentle on surfaces and won’t leave scratches or residues. Swipe the cloth across all areas of the cabinet, paying special attention to the corners and crevices. Remember to dust both the inside and outside of the cabinets, including the cabinet tops where dust tends to accumulate. This initial dusting step will prepare your kitchen cabinets for a more thorough cleaning, ensuring that subsequent steps are effective and safe for your cabinets’ finish.
Step 2: Preparing the Cleaning Solution
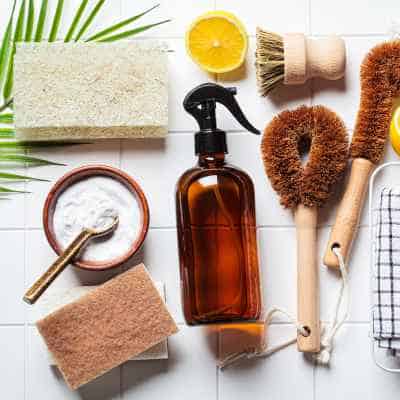
After dusting, the next step in the cleaning process involves preparing a suitable cleaning solution that will effectively clean your cabinets without harming their finish. For a gentle and effective cleaner, you can create a homemade solution using warm water and mild dish soap. Mix one part dish soap with two parts warm water in a bowl or bucket, stirring until it’s well combined. This soap solution is gentle enough not to damage the finish, yet strong enough to cut through grease and grime. For stubborn stains, you could add a tablespoon of baking soda to the mixture. Remember, the goal is to create a cleaning solution that removes dirt and grime without compromising the integrity of your cabinets’ finish. Always test the solution on an inconspicuous part of the cabinet before applying it to the entire surface.
Step 3: Applying the Solution
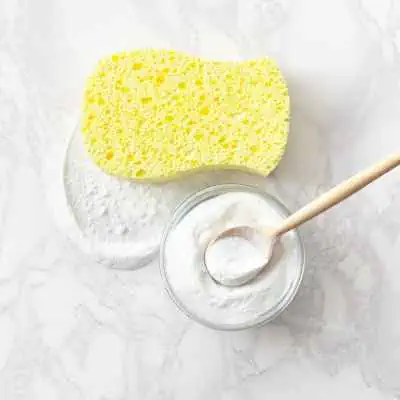
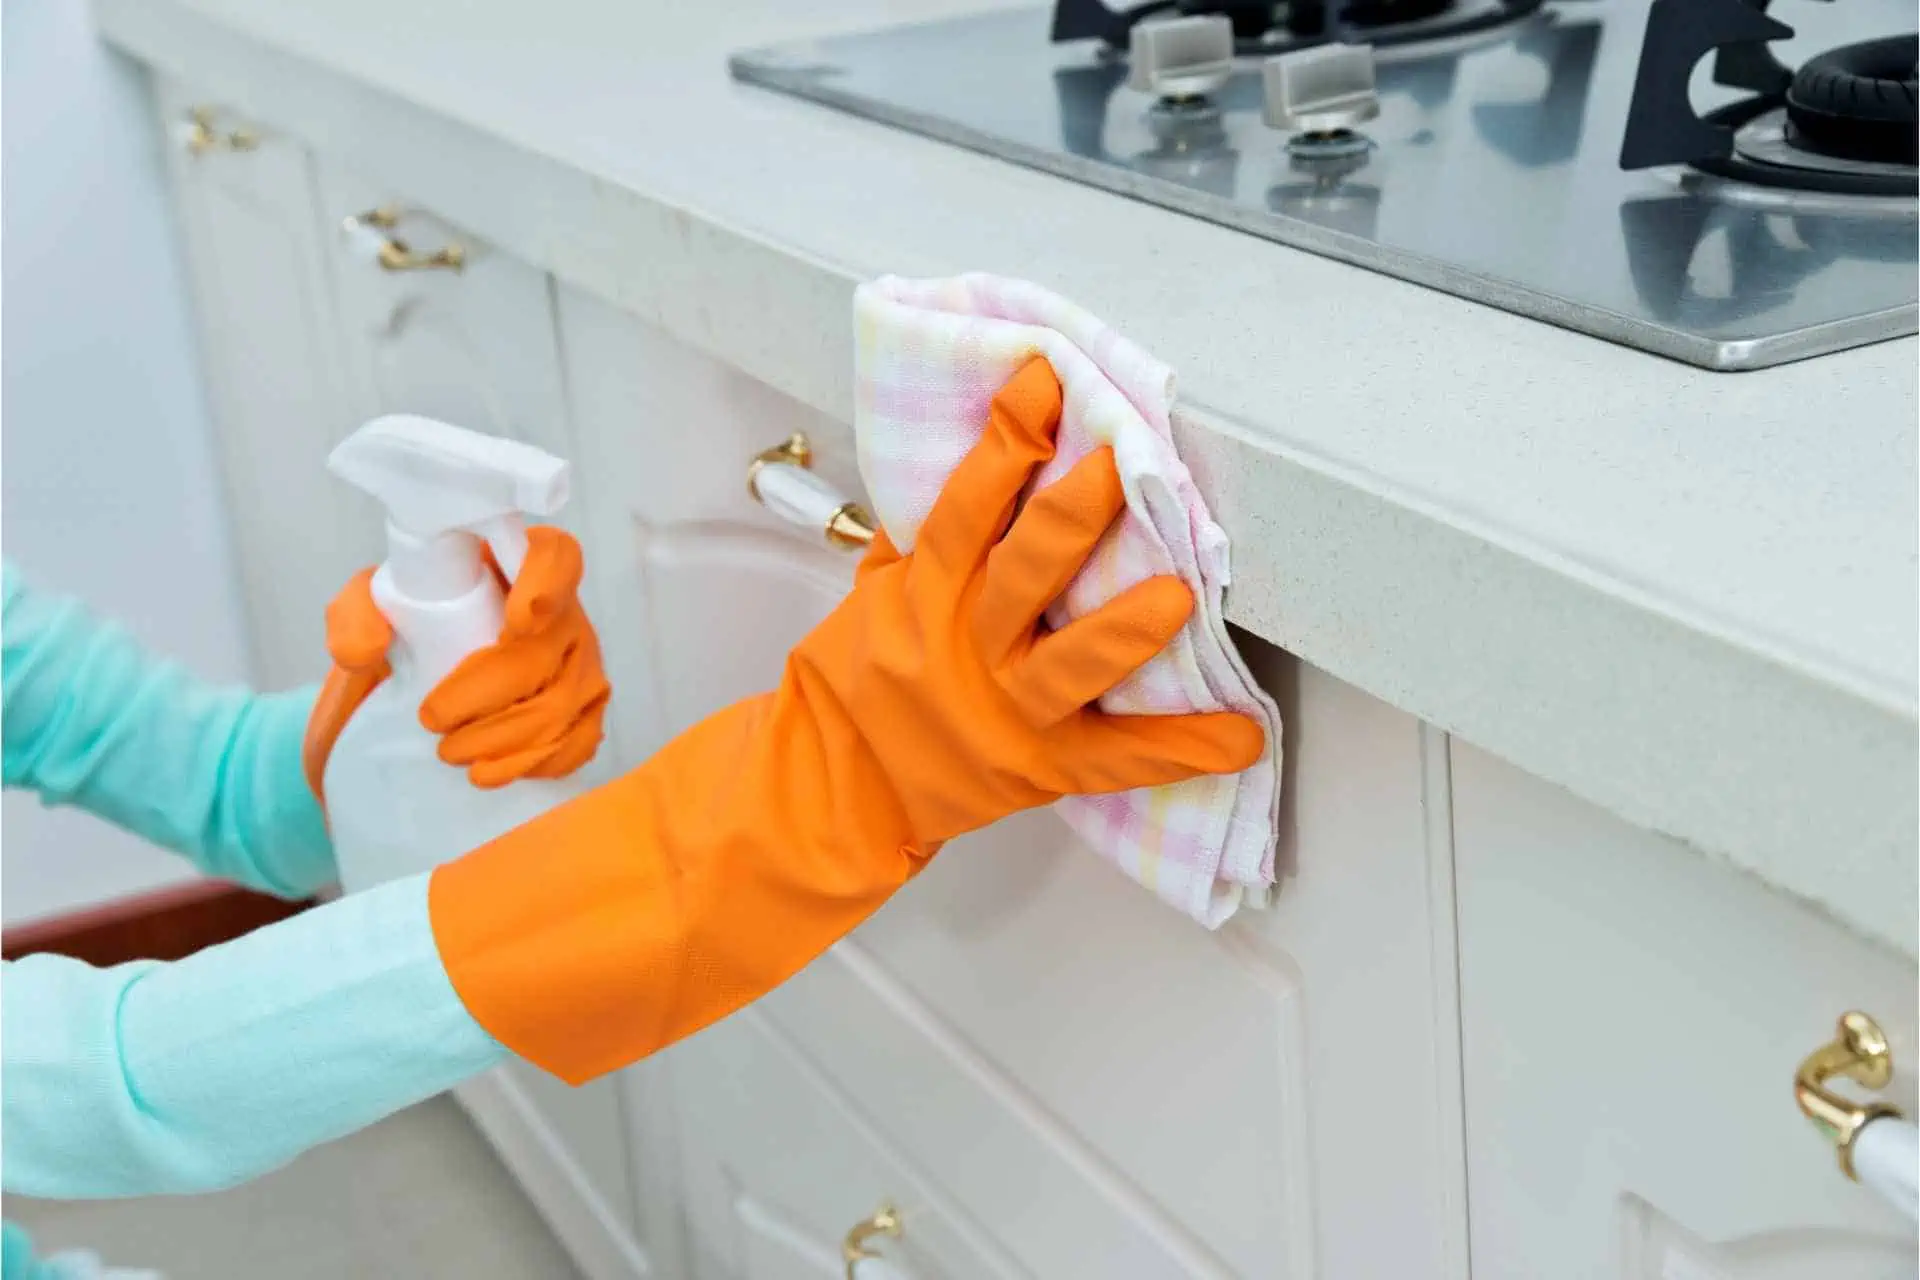
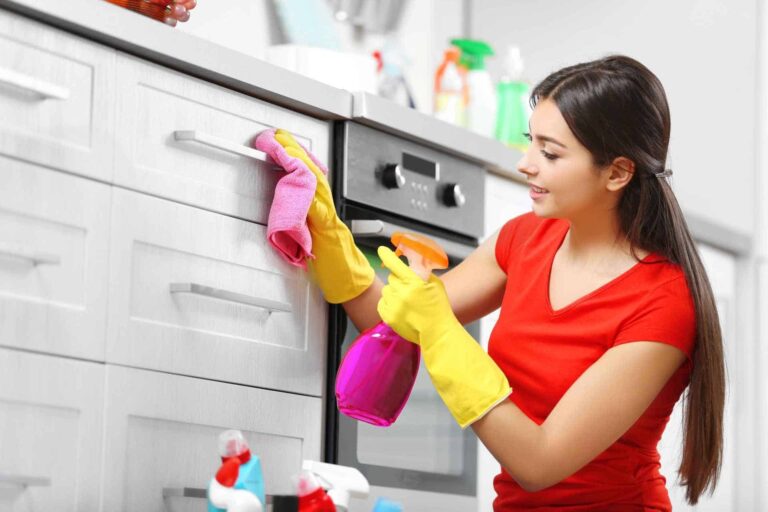
Once your cleaning solution is prepared, it’s time to apply it to your cabinets. Dip a soft, clean cloth or sponge into the solution, wringing out excess liquid before application to avoid over-saturation, which can damage your cabinets. Then, starting from the top and working your way down to prevent dripping, gently wipe the surfaces of your cabinets with your cloth or sponge, re-dipping as needed. Remember to pay special attention to the handles, hinges, and other hardware where grease and grime may accumulate. For the corners and crevices that are hard to reach, use a small toothbrush or cotton swab. After you’ve cleaned an area, rinse it immediately with warm water to prevent the soap from drying on your cabinets, and then dry thoroughly with a fresh, dry cloth. This step will ensure the removal of lingering dust, grease, and grime, bringing back the original shine of your cabinets.
Step 4: Rinsing and Drying
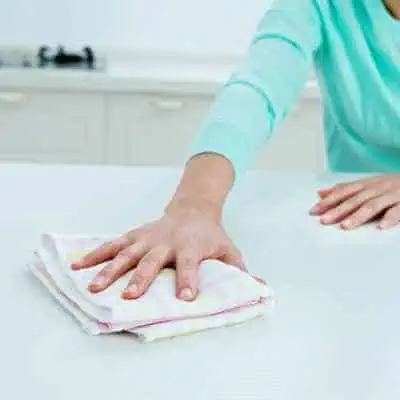
After thorough cleaning, it’s crucial to rinse and dry your cabinets properly. Start by rinsing the soap solution off the cabinets with a clean, damp cloth. Ensure you go over the entire surface, paying special attention to the nooks and crannies where soap residue may hide. Removing all the soap will prevent streaks or a cloudy finish. Once all soap residues have been removed, it’s time to dry the cabinets. Using a fresh, soft, and dry cloth, gently pat the cabinets dry. Avoid rubbing too hard as it could damage the finish. Ensure your cabinets are completely dry before you close them. This final step in the cleaning process prevents moisture from remaining on the wood, which could lead to swelling or discoloration.
Preventive Measures and Regular Maintenance
To ensure the longevity of your cabinets, adopt some preventive measures and regular maintenance habits. Avoid hanging damp dish towels over cabinet doors as the moisture can damage the finish over time. Whenever there are spills or splatters, clean them up immediately to prevent staining or damaging the wood. Regularly dust your cabinets with a soft, lint-free cloth to keep them looking fresh and prevent dust accumulation.
For maintenance, consider polishing your cabinets every 6 months. Choose a high-quality wood polish that matches the finish of your cabinets to restore shine and add a protective layer against grease and dust. Avoid using harsh chemicals or abrasive cleaning tools, as they can scratch or dull the finish.
By implementing these preventive measures and maintaining a regular cleaning schedule, you can preserve the beauty and functionality of your kitchen cabinets for many years.
Conclusion
Kitchen cabinets are a significant investment and an integral part of your home’s aesthetic appeal. Their cleanliness and maintenance shouldn’t be an afterthought. It is essential to remember that different cabinet materials require unique cleaning methods. For instance, painted and laminated cabinets can usually withstand a more vigorous cleaning compared to wood cabinets.
Regularly cleaning of your cabinets helps eliminate grease and dust that can lead to damage over time. Apart from cleaning, the application of a good quality wood polish can significantly improve the appearance and lifespan of your cabinets.
Remember, prevention is always better than cure. By adopting a proactive approach to cabinet care, you can prevent potential damages and costly repairs. Whether you’re dealing with high-end custom cabinets or budget-friendly options, these practical tips can help keep your kitchen cabinets looking their best. It’s all about treating your cabinets with the care they deserve, and in return, they’ll continue to serve you for decades.
The essence of cabinet care is rooted in the principle of respecting the material they are made out of. Understanding this approach is vital for anyone who wants to enjoy a beautiful and functional kitchen for as long as possible.
Frequently Asked Questions
What are the best cleaning solutions for kitchen cabinets?
Different materials require different cleaning solutions. For most wood cabinets, a mixture of mild dish soap and warm water works well. Vinegar can be used to tackle tougher stains and grease.
How often should I clean my kitchen cabinets?
Kitchen cabinets should be wiped down weekly to prevent build-up of dust and grease. A more thorough cleaning should be done every few months.
Can I use furniture polish on my kitchen cabinets?
Yes, applying a high-quality furniture polish can enhance the appearance of your cabinets and provide a protective layer against dust and moisture. However, always test the polish on a small, inconspicuous area first to ensure it doesn’t discolor or damage the finish.
How can I protect my cabinets from potential damage?
Adopting a proactive approach is the best way to protect your cabinets. This includes regular cleaning, prompt attention to spills and stains, and the use of cabinet liners to protect against scratches and spills.
Is it necessary to hire a professional for cabinet cleaning and maintenance?
While professional cleaning services can provide a thorough cleaning, most cabinet cleaning and maintenance can be effectively done using household cleaning supplies and the tips provided in this guide.

