How to Clean Kitchen Sink Drain: Simple and Effective Methods You Can Try Today
Maintaining a clean kitchen can be a challenging task, especially when it comes to areas like the sink drain that often get overlooked. However, understanding how to clean the kitchen sink drain is vital for ensuring not only the hygiene of your cooking space but also the smooth operation of your plumbing system. Over time, food particles, grease, and other debris can build up in the drain, leading to unpleasant odors, potential clogs, and even damage to pipes. Regularly cleaning your kitchen sink drain can eliminate these issues, maintaining the cleanliness and functionality of your kitchen. In this guide, we’ll provide a step-by-step process on how to clean kitchen sink drain effectively using simple tools and ingredients you likely already have at home. Get ready to roll up your sleeves and restore your kitchen sink drain to its optimal condition.
Understanding the Problem
Before diving into the cleaning process, it’s essential to understand the common problems associated with a dirty kitchen sink drain. Over time, the accumulation of food scraps, grease, and soap scum can lead to several troublesome issues. The most noticeable sign of a dirty drain is usually an unpleasant odor that emanates from the sink. This smell is caused primarily by decaying organic matter lodged within the drain.
Furthermore, these accumulations can also cause slow drainage, which can be highly inconvenient, especially during food preparation or cleaning tasks. Blockages are yet another common issue. If left unattended, these can escalate into a complete clog, rendering your sink unusable. In the worst-case scenario, the buildup may even lead to corrosion or other significant damage to your plumbing system.
Lastly, a dirty drain can attract pests like fruit flies, who thrive in damp, organic-rich environments. These insects aren’t just annoying—they’re also a potential hygiene threat. Each of these issues underscores the importance of regularly cleaning your kitchen sink drain.
Tools Needed
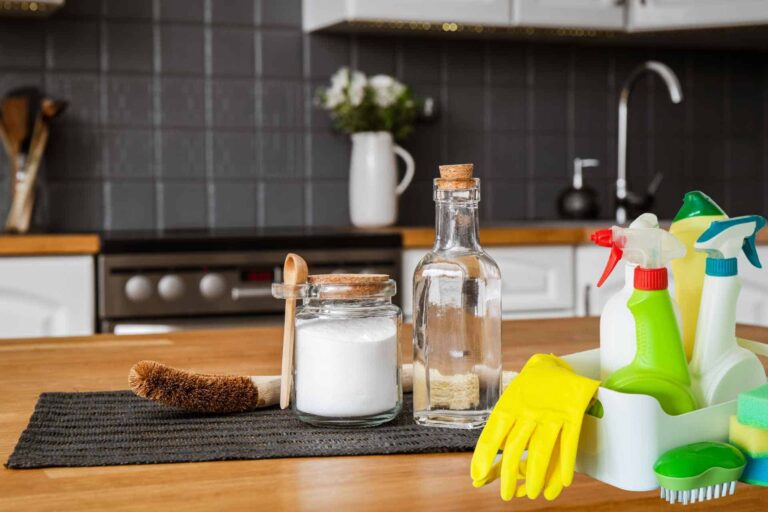
To thoroughly clean your kitchen sink drain, you’ll need a few basic tools and ingredients, most of which are likely already present in your home.
- A Plunger: This common household tool is crucial for dislodging debris that might be causing a clog in your drain.
- Baking Soda and Vinegar: These kitchen staples are excellent for cleaning drains. They create a natural and potent reaction that can dissolve and dislodge grime and build-up.
- Boiling Water: Used in conjunction with baking soda and vinegar, boiling water helps to flush out the loosened debris, effectively clearing your drain.
- Plumbing Snake or Drain Auger: If you have a stubborn blockage, a plumbing snake can help reach into the drain and break up the obstruction.
- Protective Gloves: In order to protect your hands from grime and potential irritants, a pair of sturdy rubber gloves is recommended.
- Old Toothbrush or Scrub Brush: These are useful for scrubbing away stubborn grime from the visible parts of your drain.
- Bucket or Container: To catch any water or debris that may be dislodged during the cleaning process.
Remember, having the right tools at your disposal can make the task of cleaning your kitchen sink drain much easier and more effective.
You may also like:
Step-by-step Guide on How to Clean Kitchen Sink Drain
Cleaning your kitchen sink drain is an essential task that often gets overlooked. Despite daily use, many of us neglect this crucial maintenance, allowing food remnants, grease, and other debris to accumulate over time. This build-up can not only lead to unpleasant odors but can also attract unwanted pests like fruit flies or ants. These insects aren’t just annoying—they’re also a potential hygiene threat. This guide will equip you with a step-by-step process to clean your kitchen sink drain effectively, ensuring a hygienic and pleasant kitchen environment. Moreover, it will highlight the necessary tools, most of which you likely already have at home. Let’s get started.
Step 1: Preparing the Sink for Cleaning

Preparing your sink for cleaning is the first crucial step. Start by removing any visible debris. This might include food remnants, pieces of soap, or other waste. If there is a stopper or a drain strainer in the sink, remove it. Rinse the sink and stopper thoroughly with hot water to dislodge any loose debris attached. If your sink has a garbage disposal unit, make sure it is off before you start cleaning. For those stubborn spots of grime that refuse to budge, use an old toothbrush or scrub brush to scrub them away. Remember to wear your protective gloves during this process to keep your hands safe. Lastly, make sure you have a bucket or container ready to catch any water or dislodged debris. Doing so will help maintain the cleanliness of your work area. Now, your sink is ready for a thorough cleaning.
Step 2: Homemade Drain Cleaner Recipe
Creating your homemade drain cleaner is a cost-effective and environmentally-friendly alternative to store-bought products. The best part is, you only need two simple ingredients: baking soda and vinegar. Here’s the recipe:
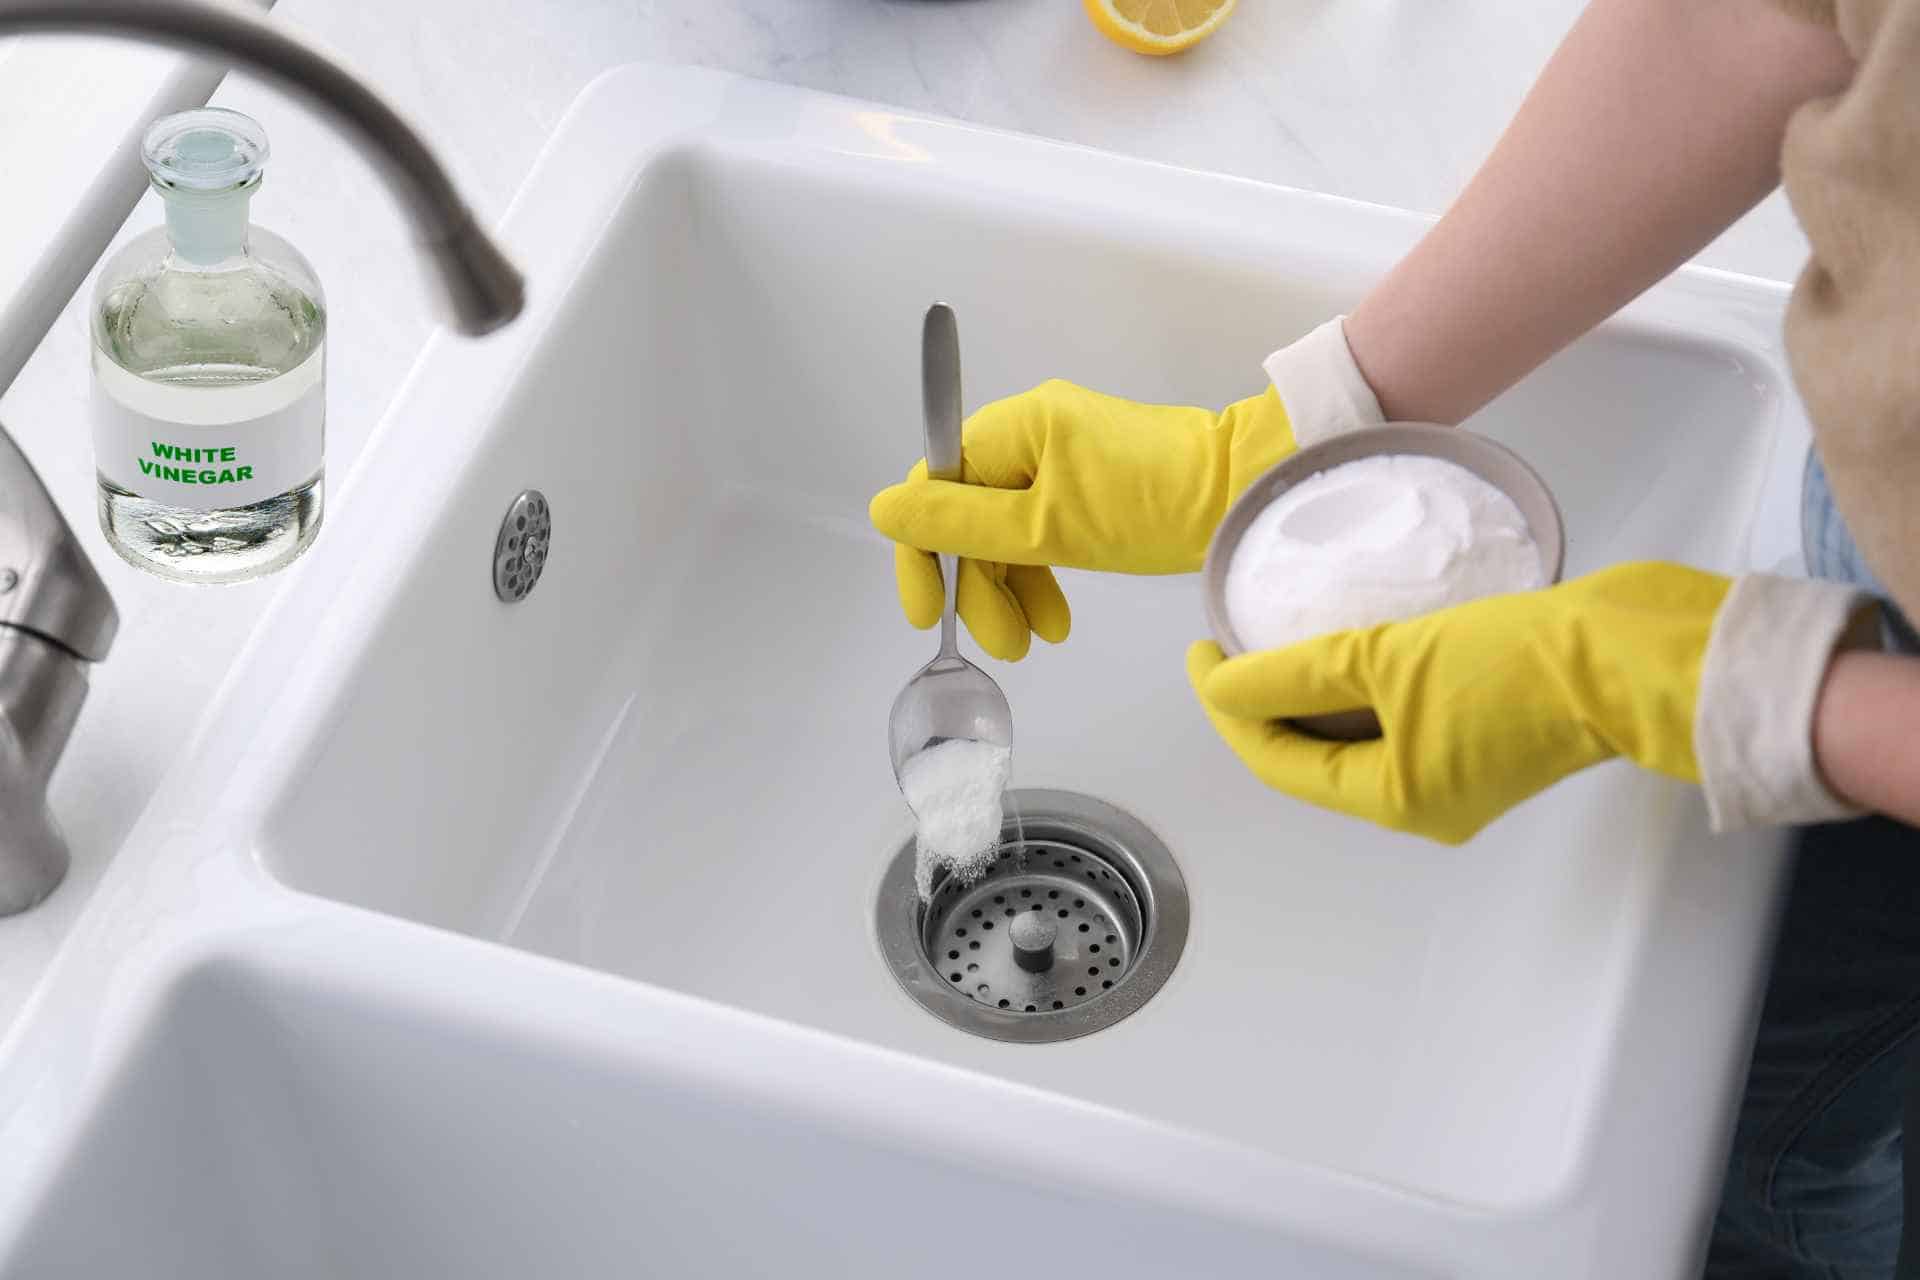
- Pour half a cup of baking soda directly into the drain. Baking soda is a great cleaning agent that not only dislodges grime but also deodorizes the drain.
- Next, add half a cup of white vinegar. The interaction between vinegar and baking soda creates a bubbling effect which helps to break down the grime and grease.
- Let this mixture sit in the drain for about 15-30 minutes. This waiting period allows the magic to happen, giving the mixture ample time to dissolve the residue.
- Finally, rinse the drain with hot water to wash away the mixture along with the dislodged debris.
Remember, safety is paramount. Always ensure your hands are protected, and avoid contact with your eyes when handling these substances.
Step 3: Using the Drain Cleaner
Once your homemade drain cleaner is ready in the drain, it’s time to put it to work. The steps are quite simple, and here’s how to go about it:
- Ensure that your sink is free of excess water. If there’s water above the drain, it could dilute the cleaner, making it less effective.
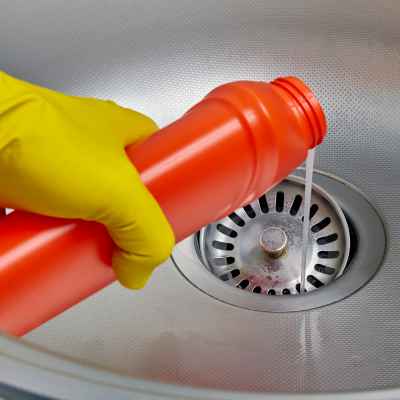
- Pour the homemade drain cleaner slowly into the drain. Be mindful to avoid any splashes to protect yourself from any potential reactions.
- As the cleaner goes to work, you’ll notice a fizzing reaction. This is a good sign. It shows that the cleaner is interacting with the grime and breaking it down. However, refrain from using the sink at this point – let the cleaner do its job undisturbed.
- After waiting for about 15-30 minutes, it’s time to rinse the drain. Turning on your hot water tap, let the water flow down the drain. The hot water isn’t just for rinsing – it helps to further break down any remaining grease or grime, ensuring your pipes are squeaky clean.
Through these steps, you can use your homemade drain cleaner effectively. Remember, safety should always be your priority – wear gloves and eye protection if necessary.
Step 4: Brushing the Drain
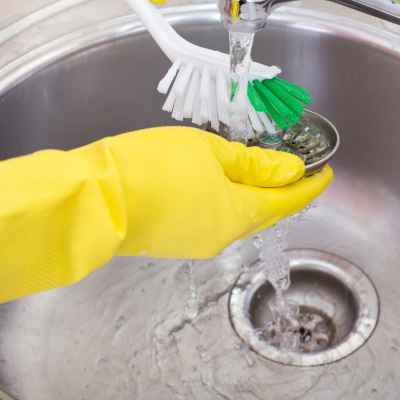
After the initial cleaning with your homemade drain cleaner, there may still be stubborn residues clinging to the walls of your pipes, especially if the drain hasn’t been cleaned in a while. This is where brushing the drain comes in – an intensive, hands-on step for deep cleaning your drain.
To start, you’ll need a drain snake brush, a tool specifically designed for this task. This long, flexible brush can reach deep into the drain, dislodging any stubborn grime. Begin by inserting the brush gently into your drain until you meet resistance. This is likely a build-up of stubborn residue that didn’t dissolve during the first cleaning.
Carefully, rotate the brush to break down the residue. It’s important to do this slowly as being too forceful could damage your pipes. Once you’ve loosened the build-up, gently remove the brush, pulling out the residue with it.
Rinse the brush thoroughly before repeating the process. It might take a few tries, but it’s worth it for a deep clean. Once you’re satisfied all the residue is removed, do a final rinse with hot water.
With this meticulous brushing process, you’re sure to leave your drain fresh and free-flowing.
Preventing Future Clogs
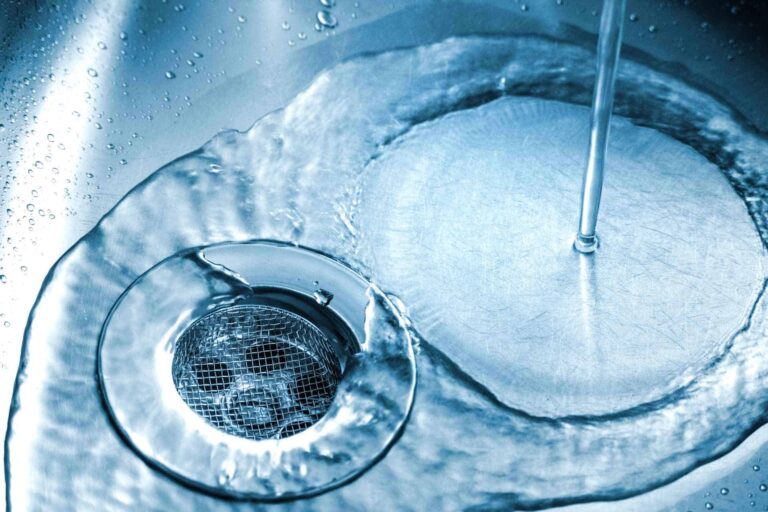
To keep your drains free-flowing and minimize future clogs, adopt some preventive maintenance measures. Firstly, be mindful of what goes down the drain. Avoid pouring fats, oils, or grease, as they can solidify and create blockages. Also, refrain from disposing of coffee grounds, food scraps, and hair in the drain.
Invest in quality drain covers to catch larger particles, preventing them from forming a clog in the first place. Regularly cleaning your drain covers will also ensure they continue to function optimally. Secondly, consider using a natural enzyme-based drain cleaner monthly. These cleaners, which are less harsh than chemical solutions, can help to keep your pipes clear without damaging them.
Flushing your drains with hot water weekly is another effective preventative measure. The hot water helps to dissolve and flush away minor build-ups before they cause problems. Lastly, having your drainage system professionally inspected and cleaned annually can identify and rectify any potential issues early.
Taking these proactive steps will not only save you the hassle of dealing with clogged drains but also extend the lifespan of your plumbing system. Remember, prevention is always better than cure when it comes to drain maintenance.
Conclusion
In conclusion, maintaining a clean and efficient kitchen sink drain is a simple but crucial task. The first step involves regular cleaning using items readily available in your household, such as baking soda, vinegar, and hot water. This method is not only effective but also safe for you and the environment. If necessary, you can utilize a plunger or a plumbing snake to dislodge stubborn clogs. However, be sure to apply gentle pressure to avoid damaging your pipes.
Preventive measures are equally important in ensuring a free-flowing drain. Avoid disposing of items that are likely to cause blockages, such as fats, oils, and food scraps. Using quality drain covers and natural enzyme-based drain cleaners can significantly minimize the occurrence of clogs. Regular flushing with hot water and annual professional inspections further contribute to the efficiency and longevity of your drainage system.
By adopting these simple and effective methods, you can ensure a well-functioning kitchen sink drain, saving you time, effort, and the expense of dealing with major plumbing issues. Remember, when it comes to maintaining your kitchen sink drain, a little effort goes a long way. Start today, and enjoy the benefits of a clean and efficient kitchen sink drain.

