How to Clean Kitchen Exhaust Fan Grease at Home
The kitchen exhaust fan, unnoticed and often forgotten, plays a critical role in maintaining a clean and healthy kitchen environment. As it tirelessly whisks away smoke, steam, and cooking odors, it also traps an unwelcome byproduct: grease. Over time, this grease accumulates, compromising the fan’s efficiency and posing a fire hazard. Hence, knowing how to clean kitchen exhaust fan grease is not just essential for maintaining your kitchen’s air quality, but also vital for your home’s safety. Regular cleaning extends the lifespan of your exhaust fan, ensures optimal performance, and prevents costly repairs or replacements. Ultimately, a clean exhaust fan leads to a cleaner, safer, and more enjoyable cooking experience.
The process of cleaning your kitchen exhaust fan involves four primary steps. First, you’ll need to ensure safety by unplugging the unit and setting up a suitable workspace. Next, you’ll disassemble the exhaust fan to access the parts that need cleaning. The third step involves soaking and scrubbing the parts to remove the accumulated grease effectively. Finally, once all parts are thoroughly cleaned and dried, you’ll reassemble the exhaust fan and reinstall it. Though it might seem daunting, with the right tools and this step-by-step guide, you can effectively and safely accomplish this task at home.
Materials Needed
- Screwdriver (for disassembly and reassembly)
- Plastic gloves (to protect your hands during cleaning)
- Bucket (for soaking components)
- Warm water (for soaking and rinsing)
- Mild dish soap or degreaser (for cleaning)
- Soft scrub brush (for removing stubborn grease)
- Soft, clean cloths or towels (for drying parts after cleaning)
- Vacuum Cleaner (for initial removal of loose dust and grime)
How to Clean Kitchen Exhaust Fan Grease: Step-by-Step Instructions
Step 1: Safety Preparations
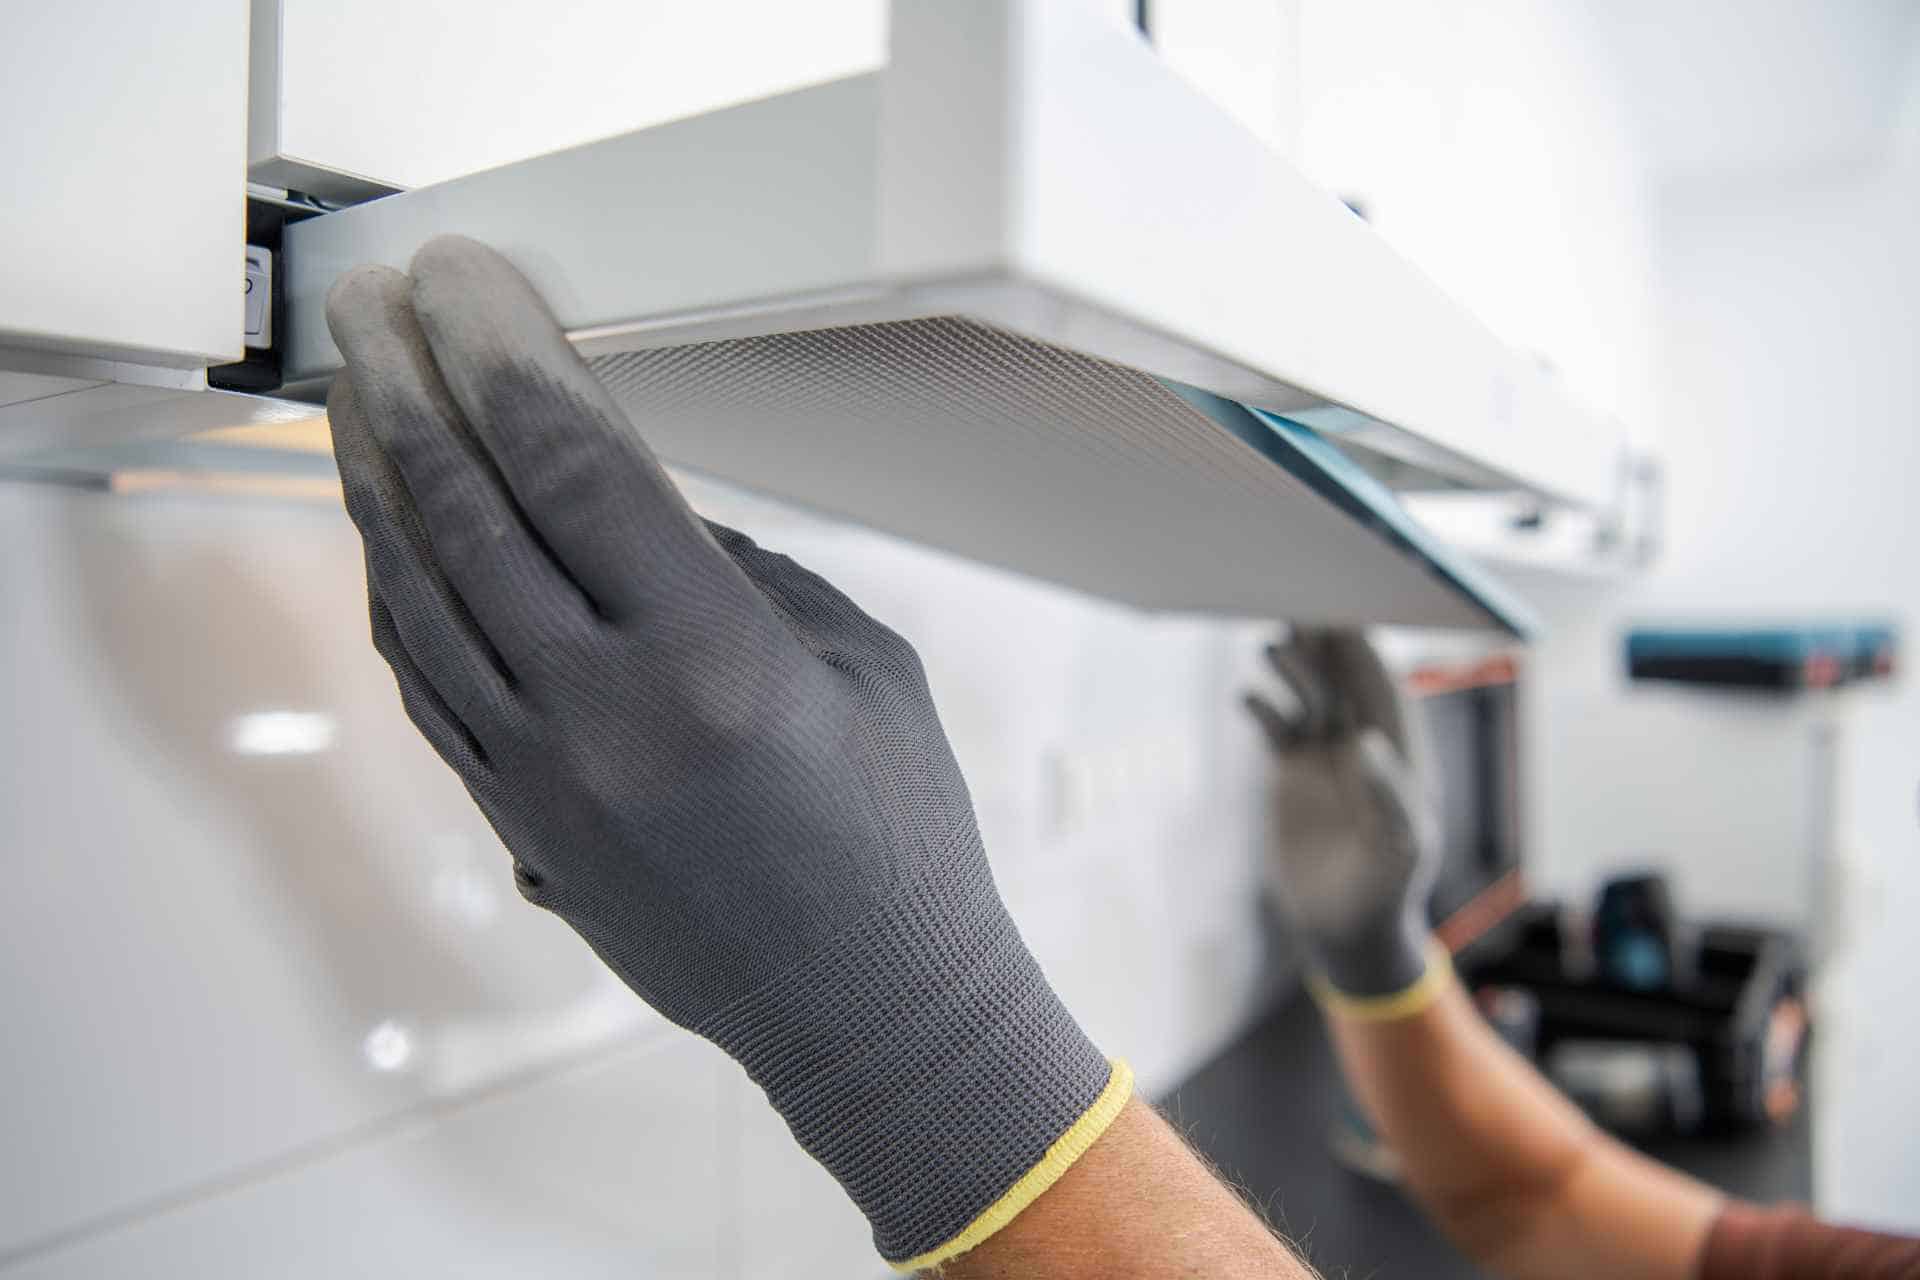
The first and foremost step is to ensure safety before starting the cleaning process. Start by switching off the kitchen exhaust fan and unplugging it from the power source to prevent any electric shock. Clear the area around the exhaust fan, providing ample workspace. It’s recommended to lay down a drop cloth or old towels beneath the work area to catch any falling dust or grime. Also, remember to wear plastic gloves to protect your hands from grease and grime during the cleaning process. Make sure to have all your cleaning materials within easy reach to facilitate a smooth and safe cleaning process.
Step 2: Disassembling the Exhaust Fan
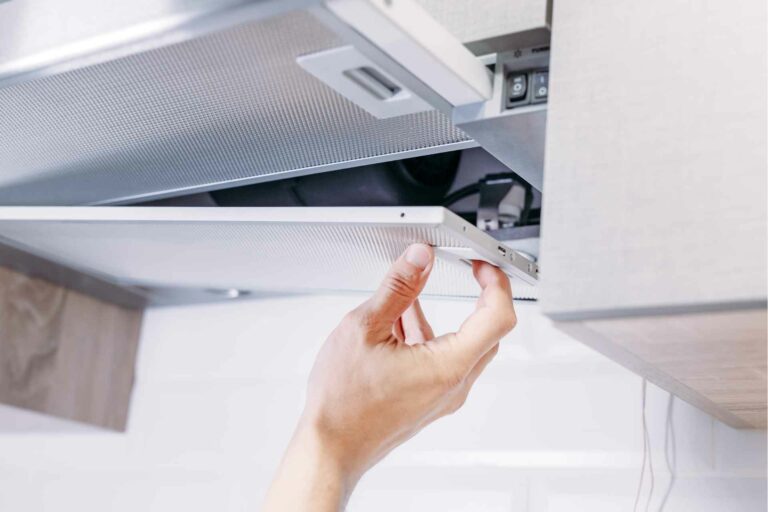
The second step is to disassemble your kitchen exhaust fan. You’ll need your screwdriver for this task. Start by removing the outer cover or grate, which is typically held in place by a few screws. Once the cover is removed, you will see the fan blades and the motor. Remove these components as well, again using your screwdriver. Be careful not to damage any parts as you remove them. Remember to put all the screws in a safe place so you won’t lose them. After disassembling, place all the parts in the bucket. This will prepare them for the next step, which involves a thorough cleaning to remove the accumulated grease.
Step 3: Soaking and Scrubbing the Parts
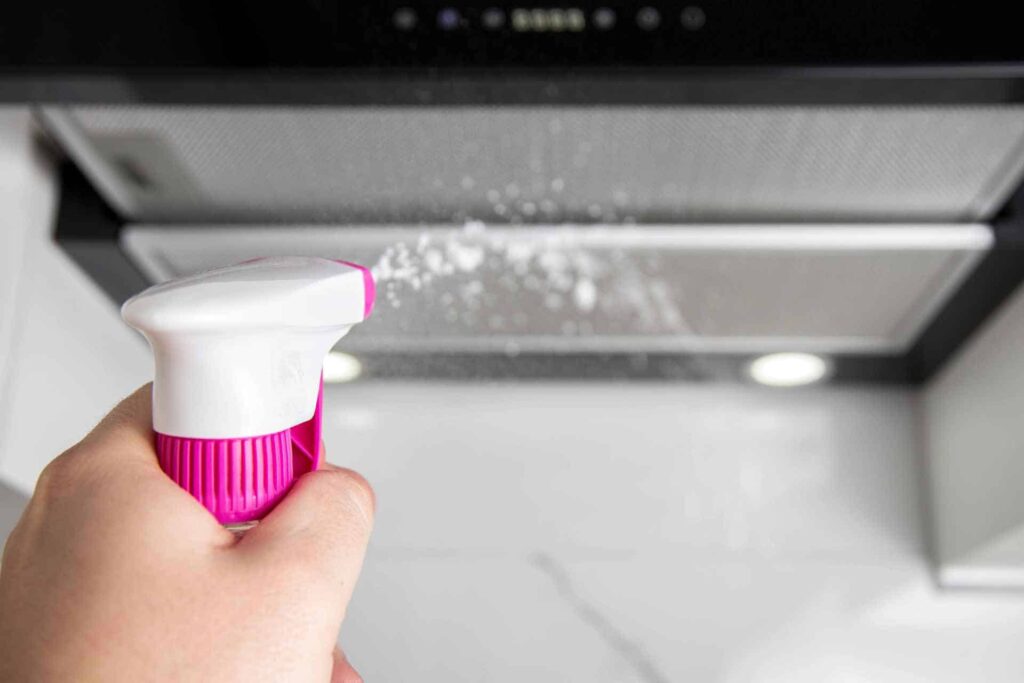
The third step is to soak and scrub the dismantled parts to remove the stubborn grease and grime. Fill your bucket with hot water, ensuring it is hot enough to dissolve the grease but not so hot that it could cause burns. Add a generous amount of dish soap to the water and mix until it forms suds. Place all the disassembled parts into the soapy water and let them soak for approximately 30 minutes to an hour.
After soaking, use a scrub brush to clean each part thoroughly. Pay close attention to the fan blades and the motor housing, as these areas tend to accumulate the most grease. If some grime still remains after scrubbing, you can use a toothbrush to reach those hard-to-clean areas. Once you’re satisfied that all the grease and grime have been removed, rinse the parts under warm running water. Use the towels to dry each piece completely before proceeding to the next step, which would be reassembling the fan.
Step 4: Drying and Reassembling the Exhaust Fan
The fourth step involves drying and reassembling the exhaust fan. Begin by ensuring all the parts you’ve cleaned are completely dry. Any moisture left can lead to potential electrical issues or rust formation. You can use dry towels to wipe down each part or leave them in a ventilated area to air dry.
Once the parts are dry, it’s time to reassemble the fan. Start with the motor and fan blades, making sure they are secured properly. Refer to any pictures you took at the start of the process to ensure correct reassembly. Next, reattach the outer cover or grate. Ensure you securely tighten all screws during reassembly to prevent any loose parts.
Reassembling correctly is crucial to the functionality of your exhaust fan. With all pieces securely in place, your exhaust fan is now ready to be reinstalled and used again, providing a cleaner and healthier environment by efficiently removing steam and odors.
Preventive Measures
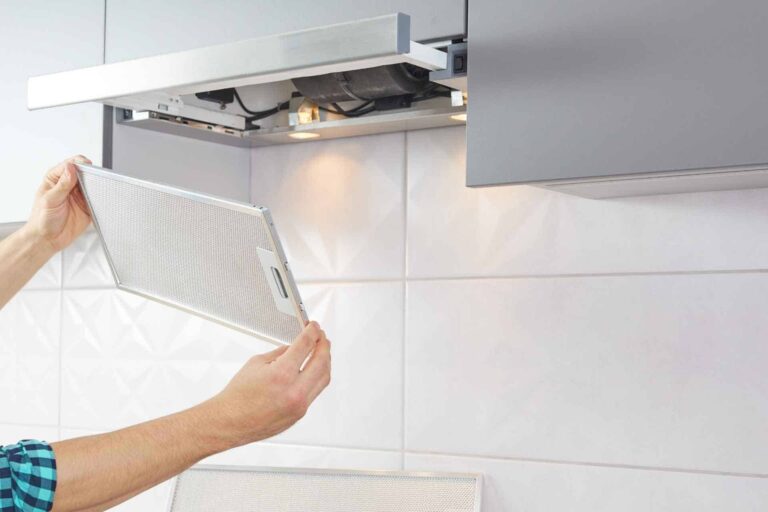
Regular maintenance tips
Regular maintenance of your exhaust fan can extend its lifespan and ensure it operates at peak efficiency. Here are a few preventive measures you can take:
Regular Cleaning: Aim to clean your exhaust fan at least once every three months. Regular cleaning can prevent the build-up of dust and grease that can impair the fan’s function.
Proper Use: Always turn on the exhaust fan when you’re cooking or bathing to prevent excessive moisture or grease from accumulating in the first place.
Check for Noise: If your fan starts making unusual noises, it could be a sign of a mechanical issue. Inspect it promptly to avoid further damage.
Professional Inspection: Consider having a professional inspect your fan annually. They can check for any underlying issues that may not be visible to the untrained eye.
By following these preventive measures, you can ensure your exhaust fan remains in good working condition, contributing to the overall health of your home environment.
Preventing Grease Buildup
Preventing the accumulation of grease in your exhaust fan is a vital part of its maintenance. When the exhaust fan is not cleaned frequently, grease and grime can build up, affecting its efficiency and potentially becoming a fire hazard. Using your exhaust fan while cooking can dramatically reduce the amount of grease that accumulates. However, even with proper use, some amount of grease is inevitable. To combat this, regularly clean the fan blades and housing with a degreasing solution. This can be as simple as a mixture of warm water and dish soap, or for more stubborn buildup, a commercial degreaser might be necessary. If the grease buildup is severe, consider hiring a professional cleaning service to ensure a thorough job. Additionally, consider installing a grease filter if your exhaust fan model allows. This can trap grease particles before they deposit on the fan blades, making maintenance easier.
Conclusion
In conclusion, maintaining a clean and efficient exhaust fan is a multifaceted process. It involves regular cleaning, both in terms of simple dusting and more thorough degreasing. It is crucial to operate the fan during cooking to minimize the accumulation of grease and grime. In case of stubborn buildup, the use of a commercial degreaser is advisable. Periodic professional inspections can also uncover and address potential mechanical issues, ensuring the longevity of your exhaust fan. The addition of a grease filter, if compatible with your model, further simplifies the cleaning process by trapping grease particles before they can settle on fan components. By adopting these practices, homeowners can ensure their exhaust fans continue to function optimally, contributing to a healthier and safer home environment.
Regular cleaning is not just a part of maintaining the aesthetic of your exhaust fan, it significantly impacts its efficiency and longevity as well. A clean exhaust fan can function at its maximum capacity, ensuring proper ventilation, reducing the risk of fire, and maintaining a healthy environment in your kitchen. On the other hand, a fan burdened with layers of grease and dust struggles to perform, leading to decreased efficiency and a shorter lifespan. Therefore, overlooking regular cleaning could potentially lead to more frequent replacements, resulting in higher costs over time. By investing a little time into regular maintenance, you can extend the life of your exhaust fan, save money in the long run, and keep your kitchen safe and pleasant.
FAQs
How often should I clean my exhaust fan?
The frequency of cleaning depends on how often you cook and the types of meals you prepare. If you cook frequently, especially dishes that produce a lot of smoke or grease, a monthly deep clean is advisable. However, for light cooking, a thorough cleaning every 3-6 months should suffice.
What type of commercial cleaner should I use for my exhaust fan?
Choose a degreaser specifically designed for kitchen exhaust fans. These cleaners are formulated to effectively break down the grease that commonly accumulates on the fans. Be sure to follow the instructions on the label for best results.
How important is it to have my exhaust fan professionally inspected?
Professional inspections can uncover mechanical issues that might otherwise go unnoticed. An annual inspection is generally recommended, but if you notice any unusual noises, decreased efficiency, or other performance issues, it’s a good idea to schedule an inspection sooner.
What is a grease filter and how does it help?
A grease filter is a device that traps grease particles before they can settle on fan components. This reduces the amount of grease that accumulates on the fan, simplifying the cleaning process and helping to maintain the fan’s efficiency.

