How to grow potatoes in a bucket: Easy Home Gardening Method
Growing potatoes in a bucket may sound unusual, but it is an incredibly simple and rewarding method of home gardening. It’s an ideal project for those with limited space or those wanting to try their hand at container gardening. This easy-to-follow guide will walk you through the process, from choosing the right potato variety to the exciting moment of harvesting your homegrown spuds. So, get your green thumbs ready and let’s dive into the rewarding world of bucket potato gardening.
How to Grow Potatoes in a Bucket – Required Materials
Before you embark on this rewarding journey of growing potatoes in a bucket, you’ll need to gather some essential materials. Here’s a detailed list:
- Bucket: A 10-gallon bucket is ideal for growing potatoes. It provides ample space for the potatoes to grow and is easy to move around.
- Drill: You’ll need this to create drainage holes at the bottom of the bucket.
- Potting Soil: Choose a high-quality potting soil, rich in organic matter. The soil should have good drainage properties to prevent waterlogging.
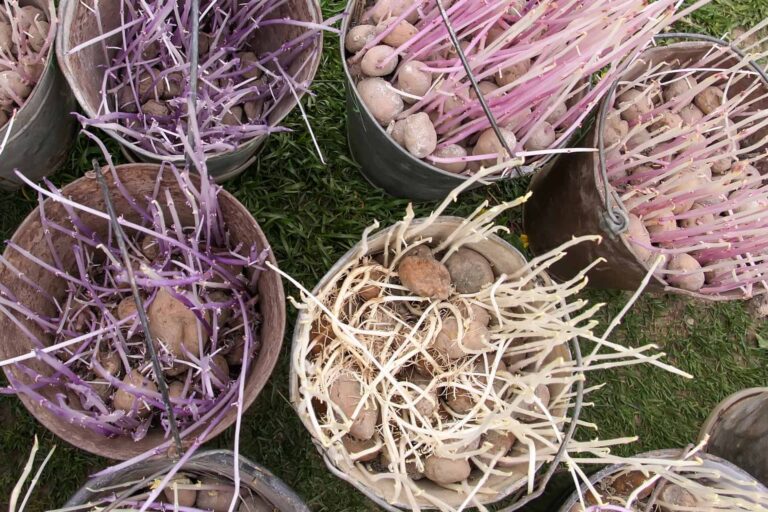
- Seed Potatoes: These are potatoes that are used for planting. Make sure they have ‘eyes’ or growth buds from which new plants will sprout.
- Watering Can: For watering your potato plants.
Each item serves a specific purpose in ensuring the successful growth of your potatoes. The bucket is your growing medium, the drill will help create necessary drainage, the potting soil provides necessary nutrients, and the seed potatoes will be your future crop. The watering can, of course, is for maintaining the appropriate moisture levels for your growing potatoes.
Choosing the Right Potato Variety
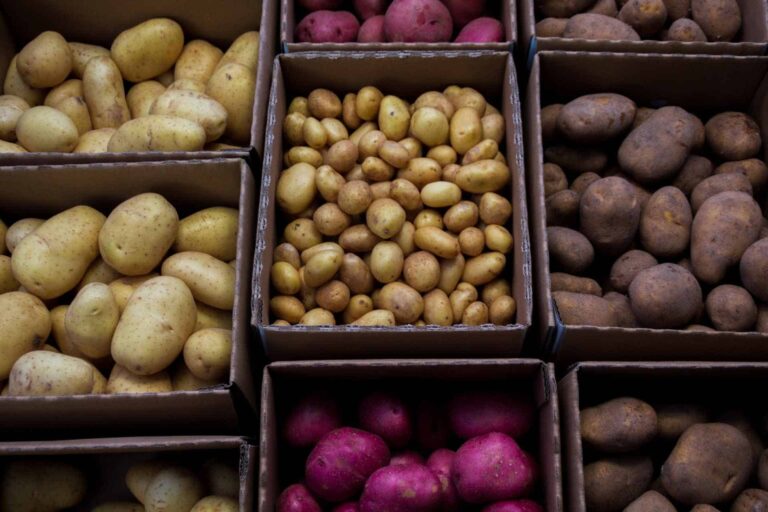
The choice of potato variety significantly impacts your home-growing experience and subsequent harvest. There are a multitude of potato varieties available, each with their unique taste, texture, and growth requirements.
Early varieties such as ‘Red Duke of York’ or ‘Swift’ are excellent choices for bucket gardening due to their shorter growing season. They are ready to be harvested sooner, typically 10-12 weeks after planting, perfect for those eager to enjoy their homegrown produce.
On the other hand, maincrop varieties like ‘Desiree’ or ‘King Edward’ have longer growing seasons but yield larger harvests, which is ideal for those seeking an abundant yield from a single bucket. The decision ultimately depends on your personal preference and patience.
Remember, always choose certified seed potatoes to ensure they are disease-free and suitable for growing. Whether you prefer your potatoes mashed, roasted, or fried, there’s a variety for every taste and culinary preference.
Preparing the Bucket
The proper preparation of your bucket is a critical step, setting the stage for your potato growing success. Start by ensuring your bucket is clean to prevent any unwanted diseases or pests. Next, use a drill to create several drainage holes in the bottom of the bucket, which will prevent waterlogging and promote healthier root growth.
Once your bucket is prepared, add a layer of small stones or pebbles at the bottom for further drainage. This layer should be approximately 2 inches deep. Then, fill the bucket with about 6 inches of your chosen potting soil. This will serve as your planting base, providing your seed potatoes with a nutrient-rich environment in which to start their growth.
Remember to place your prepared bucket in a location that receives plenty of sunlight, as potatoes require 6-8 hours of sun per day for optimal growth. Now, with your bucket prepped and placed, you’re ready for the next stage: planting your seed potatoes.
Soil Preparation
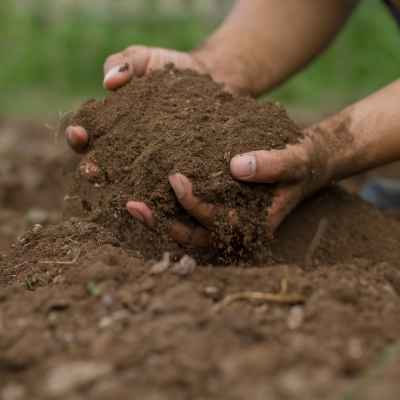
The type of soil you use for your potato bucket is a significant factor in determining the success of your potato crop. Potatoes thrive in well-drained, loamy soil that is rich in organic matter. To prepare your soil, start by mixing a high-quality potting soil with compost. This produces a nutrient-dense growing medium that will support healthy potato development.
The pH level of your soil is also crucial. Potatoes prefer slightly acidic soil with a pH ranging from 5.5 to 6.5. You can test your soil’s pH using a soil testing kit, available from most gardening stores. If your soil’s pH is too high (alkaline), you can lower it by adding sulphur or peat moss. If it’s too low (acidic), you can raise it by adding lime.
Remember, the goal is to create a light, fluffy soil environment that allows the tubers to grow without resistance. Overly compact or hard soil can hinder tuber development, leading to smaller or misshapen potatoes. Once your soil is well-prepared, evenly distribute it over the base you’ve already prepared in your bucket. Now your bucket is ready for planting your seed potatoes.
Planting the Potatoes
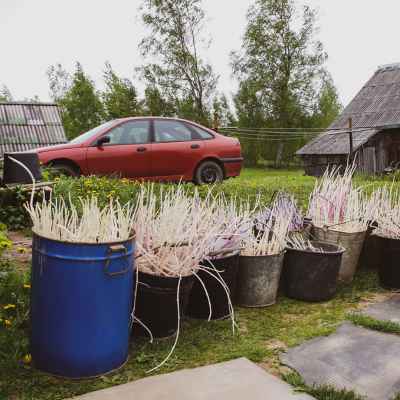
Planting your seed potatoes effectively is crucial for a successful yield. Begin by placing 3-4 seed potatoes evenly spaced on the surface of the soil in your bucket. Each seed potato should be with the ‘eye’ or sprout facing upwards, as this is the point from which your new plant will grow.
Gently cover the seed potatoes with approximately 4 inches of soil, ensuring they are fully buried but not too deep. Water your newly planted seeds thoroughly but avoid overwatering as this can lead to rot. It’s important to keep the soil moist, but not waterlogged.
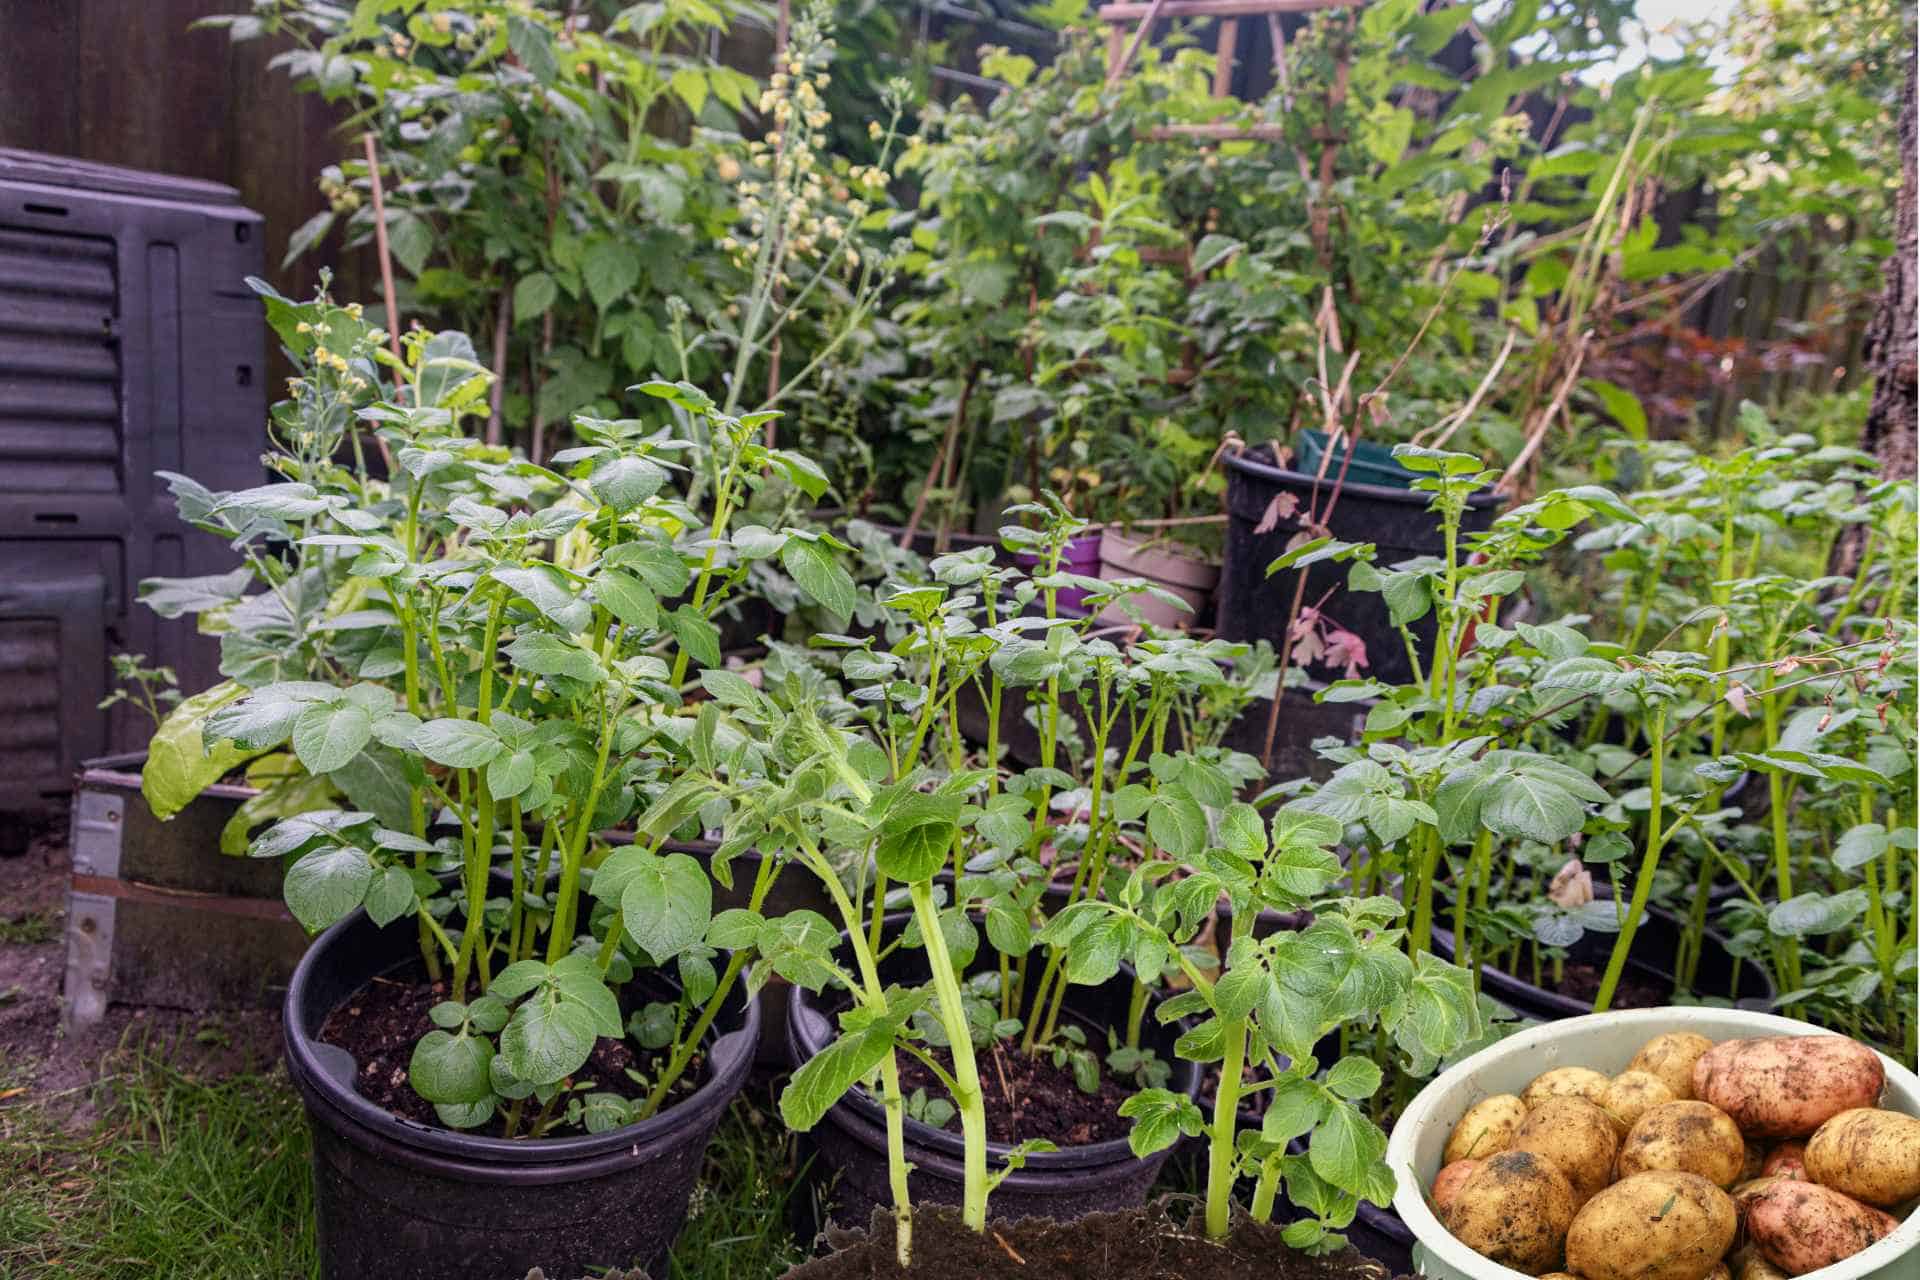
As your potato plants begin to grow and green shoots emerge above the soil, add more soil, leaving only the top leaves visible. This process, known as ‘earthing up’, encourages the plant to produce more tubers and helps prevent any potatoes near the surface turning green from sunlight exposure.
With your seed potatoes planted and on their way to becoming a bountiful harvest, your main tasks are to ensure they receive enough water, sunlight, and are protected from pests. Patience is key in this phase, but the reward of your own home-grown, fresh potatoes will be well worth it.
Caring for Your Potato Bucket
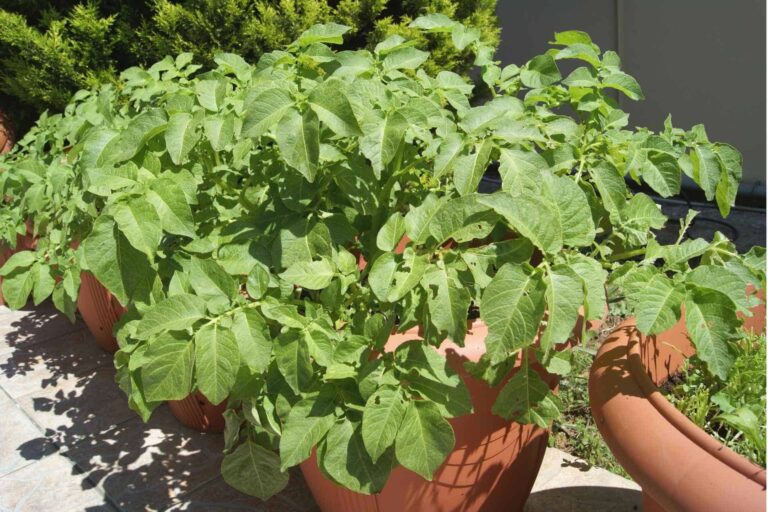
Proper care is essential in growing a successful crop of potatoes in your bucket. To begin with, ensure consistent watering but do not saturate the soil, as overwatering can cause the potatoes to rot. On warm days, your potato bucket may need to be watered more frequently due to the increased evaporation rate.
Keeping an eye on pests and diseases is another important aspect of potato care. Watch out for signs of common potato pests like the Colorado potato beetle or aphids, and diseases such as blight or scab. If you notice any harmful pests or diseases, it’s imperative to act quickly to mitigate their impact on your crop.
Finally, remember to regularly ‘earth up’ your plants by adding more soil, thus promoting the growth of more tubers. Once the plants have flowered, avoid adding more soil to let the potatoes mature. With proper care, your potato bucket will provide a plentiful harvest in just a few months. Patience, attention, and consistent care are the main ingredients for success in your potato growing journey.
Harvesting the Potatoes
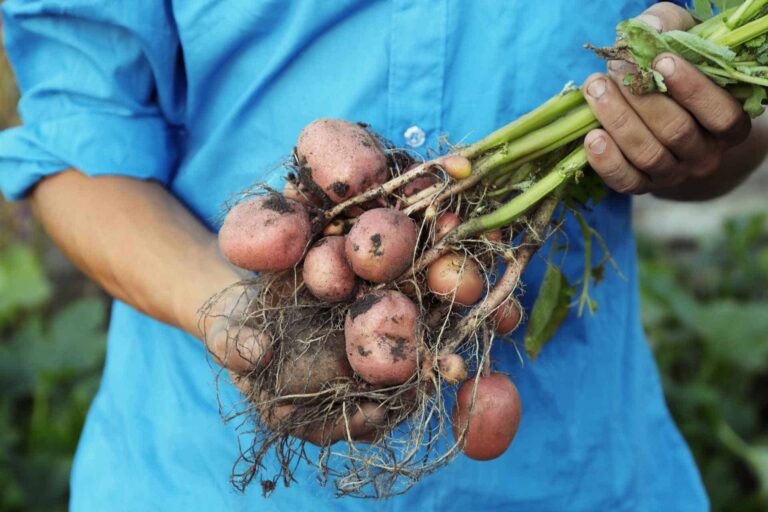
The moment of truth in your potato growing journey arrives with the harvesting phase. This usually occurs when the plants start to yellow and die back, typically around 10 to 20 weeks after planting. Start by cutting the foliage off and leaving the potatoes in the ground for another 10 to 14 days – this allows the skin to harden and extend their storage life.
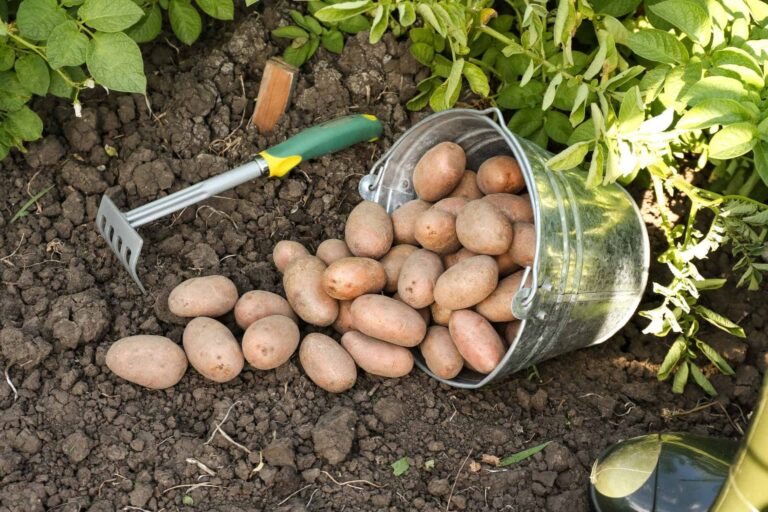
When you’re ready to harvest, take care not to damage the tubers. The beauty of growing potatoes in a bucket is that you don’t need to dig through the soil with a risk of stabbing your produce. Simply tip the bucket out onto a large tarp or directly into your compost bin, and sort through the soil to pick out your potatoes.
After harvesting, let your potatoes ‘cure’ for a few days in a cool, dark place before storing them. This process further toughens up the skin and helps to reduce the risk of rotting during storage. Lastly, store your potatoes in a cool, dark, well-ventilated area to maximize their preservation and enjoy the fruits of your labor. Remember, home-grown potatoes boast a flavor that is truly superior to their store-bought counterparts!
Conclusion
Growing your own potatoes can be a rewarding and enjoyable endeavor. Whether you’re a seasoned gardener or a beginner, the process offers a unique opportunity to learn, experience nature up-close, and ultimately harvest a product of your labor that is both nutritious and delicious. The key lies in understanding the growth process, providing the right care and conditions, and having the patience to see the process through to its fruitful end. Remember, the taste of home-grown potatoes, fresh from your own garden, is incomparable to anything you can buy from a store. It’s an experience truly worth the effort!
frequently asked questions (FAQ)
What type of potato is best for growing in a bucket?
The type of potato best suited for growing in a bucket is generally a variety that matures early, due to the limited space. One such example is the “Yukon Gold”, a versatile variety that is known for its buttery taste and smooth texture. Another good choice is the “Red Pontiac”, prized for its high yields even in confined spaces. Finally, “Fingerlings” are a great option due to their small size and fast maturation. They are also a gourmet treat with their unique shape and rich flavor. It’s always a good idea to try out different varieties and see which one performs best in your specific conditions.
What soil is best for growing potatoes in a bucket?
The ideal soil for growing potatoes in a bucket is well-draining and rich in organic matter. A blend of garden soil, compost, and a light potting mix works well to provide the nutrients required for healthy potato growth. Adding some peat moss or coconut coir can improve the soil’s moisture retention capacity, while a bit of perlite or vermiculite can enhance drainage, preventing waterlog which can lead to rot. It’s also beneficial to include a slow-release organic fertilizer to feed the plants throughout their growth cycle. Always ensure the soil is loose and not compacted to allow the tubers room to grow and expand.
How much water does a potato bucket need each day?
Watering is a crucial aspect of growing potatoes in a bucket. The amount of water required can vary based on the bucket’s size, the variety of the potato, and the environmental conditions, but as a general rule, potatoes in a bucket need about 1 to 2 inches of water per week. In hotter and drier climates, this may mean watering lightly every day to maintain consistent soil moisture. However, it’s essential to avoid waterlogging the soil as this can lead to root rot. Always check the soil before watering; it should be moist but not saturated. If the top 1 to 2 inches of soil is dry, it’s time to water.
How often should I harvest potatoes from the bucket?
Potatoes grown in a bucket can be harvested once the plants begin to yellow and die back, typically around 10 to 20 weeks after planting, depending on the potato variety. If you’re after ‘new’ potatoes, you can start harvesting a bit earlier, as soon as the flowers start to bloom. However, for fully mature potatoes, wait until the foliage has died back completely. To harvest, simply dump out the contents of the bucket and sort through the soil to find your potatoes. Be careful not to damage the tubers during harvest. After harvesting, let the potatoes cure in a cool, dark place for two weeks before storing or eating. This allows the skin to harden and prolongs storage life. Remember, potatoes are a cool weather crop and do not store well in hot or humid conditions.
How long does it take to grow potatoes in a bucket?
The duration to grow potatoes in a bucket can vary, mainly depending on the variety of potato you choose to plant. Generally, potatoes take about 10 to 20 weeks to mature from the time of planting. Early-season potato varieties can mature in as little as 70 days, while mid- or late-season potatoes may require 90-120 days to reach maturity. Remember, factors such as the growing conditions and the specific variety of potato you’re growing can significantly impact the growth timeline.

