How to grow cherry tomatoes from seeds in pots
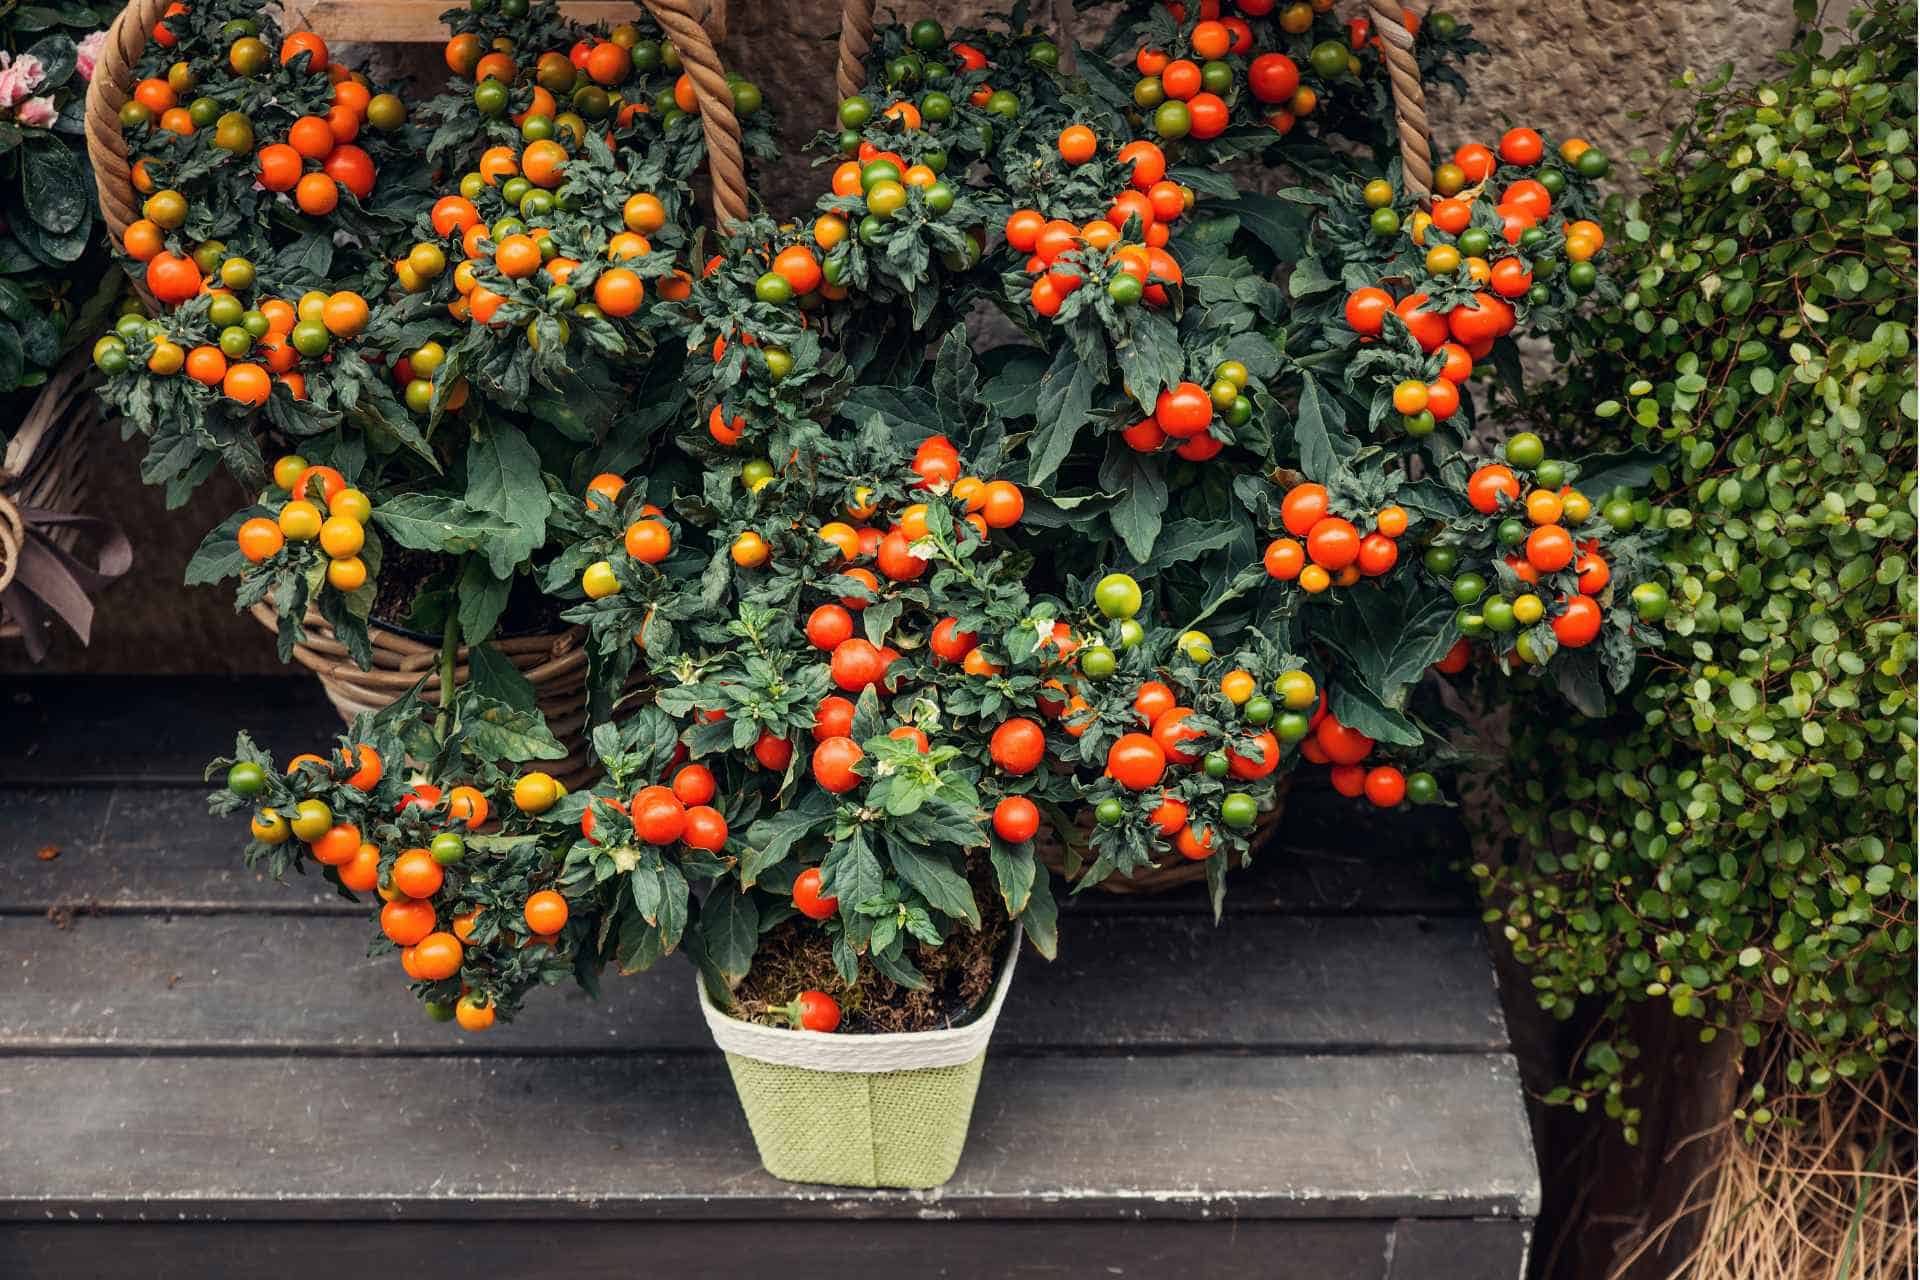
Growing cherry tomatoes from seeds in pots is a simple, rewarding process that anyone can undertake. This guide will reveal the ease with which you can cultivate your very own cherry tomatoes at home, bypassing the need for a large garden. It’s not just about the simplicity; growing cherry tomatoes from seeds in pots allows for pesticide-free produce, ensuring your groceries are fresh, organic, and healthy. Moreover, watching your cherry tomatoes grow and ripen is a gratifying experience, one that can be shared with family members of all ages. So whether you’re a seasoned gardener or a novice, this guide on how to grow cherry tomatoes from seeds in pots is designed to provide you with all the information you need to start your home gardening journey.
Necessary Supplies
To successfully grow cherry tomatoes from seeds in pots, you’ll need to gather the following items:
- Cherry Tomato Seeds: It’s preferable to choose high-quality seeds from a reputable supplier.
- Potting Soil: A nutrient-rich and well-draining potting soil will provide the best environment for your seeds.
- Pots: Choose pots that are at least 12 inches in diameter with good drainage.
- Tomato Fertilizer: A good quality tomato fertilizer will provide the necessary nutrients for your plants.
- Watering Can: To water your plants regularly.
- Stakes or Cages: These will support your tomato plants as they grow.
- Pruning Shears: For trimming and maintaining your plants.
- Gardening Gloves: To protect your hands while gardening.
- Plant Labels: To keep track of your planting dates and other important information.
- Gardening Trowel: For planting and repotting your tomatoes.
How to grow cherry tomatoes from seeds in pots – Step by Step Guide
Choosing the Seeds
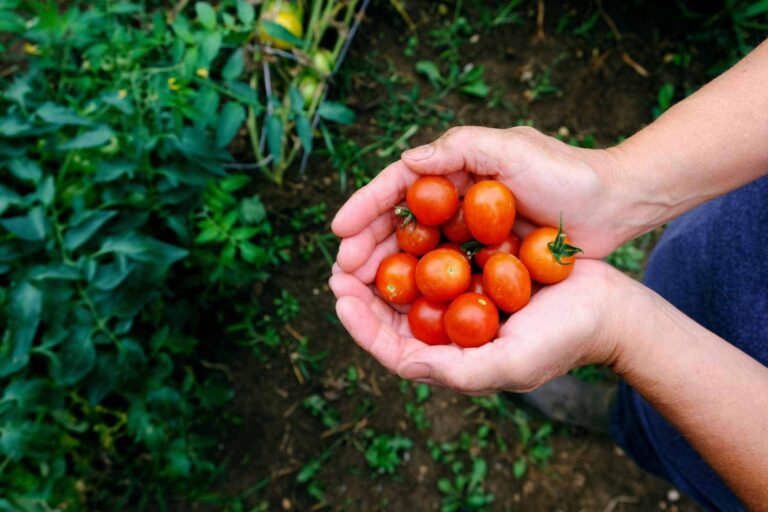
When selecting seeds, it’s essential to opt for variety. Different types of cherry tomatoes have unique flavors, growth patterns, and resistance to diseases. Consider factors such as the growth habit (determinate or indeterminate), the fruit’s color, and taste. While some people prefer the sweetness of ‘Sungold’ or ‘Sweet Million’, others might lean towards the full-bodied flavor of ‘Black Cherry’. It’s also rewarding to experiment with heirloom varieties such as ‘Green Zebra‘ or ‘Yellow Pear‘ for an interesting twist. Always purchase seeds from a reliable source to ensure genetic quality and health. Remember, your cherry tomatoes’ success starts with the seed.
Preparing the Pot
Before planting your cherry tomato seeds, the pot needs to be well-prepared. Start by selecting a pot that is at least 12 inches in diameter with adequate drainage holes. This ensures that your tomato plants have enough room to grow and the soil isn’t overly saturated. Fill the pot with nutrient-rich potting soil, which will provide the necessary environment for your seeds. Ensure the soil is loose and well-aerated, as compact soil can hinder root growth. After the pot is filled, create small holes about a quarter-inch deep where your seeds will be sown. It’s also a good idea to place a saucer or tray underneath the pot to catch any excess water.
Planting the Seeds
After your pot is prepared, it’s time to plant your cherry tomato seeds. Carefully place each seed into the prepared holes, ensuring that they aren’t too deep. Aim to place the seeds about 1/4 inch below the soil surface. Once in place, cover the seeds with a layer of soil and gently press down to ensure good contact between the seed and the soil. Water the seeds immediately after planting, using a spray bottle or a watering can with a gentle flow to avoid washing away or displacing the seeds. The soil should be moist but not waterlogged. Place the pot in a location that receives at least 6-8 hours of sunlight per day. Continually monitor the moisture of the soil over the next few days, watering as needed. The seeds should start to germinate within 7-14 days, and you will soon see the first signs of your cherry tomato plants.
Caring for the Growing Plants
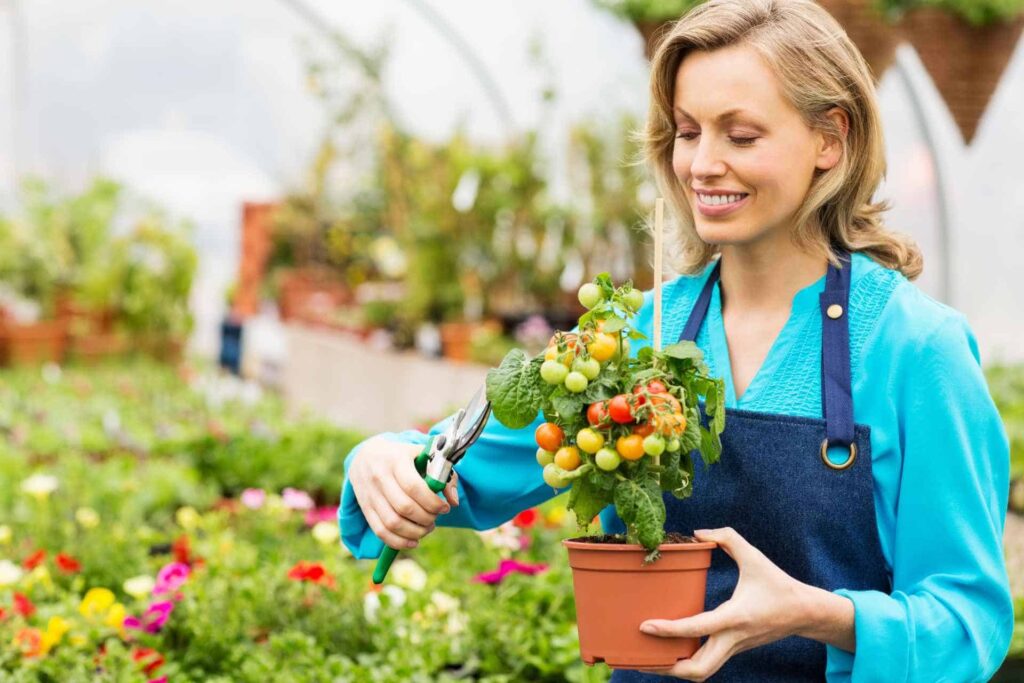
Once your tomato plants have germinated, it’s crucial to provide the care they need to thrive. Maintain consistent watering, keeping the soil moist but not water-logged. If the plants are indoors, ensure they get plenty of light – ideally, place them on a sunny windowsill or under grow lights. Once the seedlings have developed their first set of true leaves, you can begin to feed them with a balanced, water-soluble fertilizer, diluted to half the strength recommended on the package.
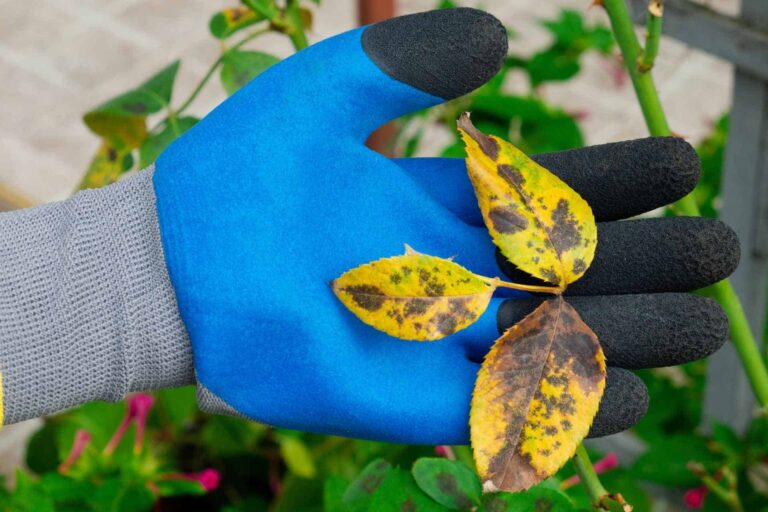
Regularly check your plants for signs of pests or disease. Yellowing leaves, stunted growth, or the presence of pests like aphids or whiteflies are indicators that your plants may be in distress. Take immediate action if you notice any of these signs.
As your plants grow, they may need additional support to keep them upright. You can provide this by staking the plants or using a small cage. This support helps the plants to bear the weight of their fruit once they start to produce.
Harvesting the Tomatoes

Harvesting your cherry tomatoes is a thrilling milestone in your gardening journey. Cherry tomatoes are typically ready for harvest 65 to 70 days after planting. You’ll know they’re ripe when they have developed a rich, vibrant color – most commonly a deep red, although some varieties might be yellow, green, or even purple when ripe. The skin should be firm but yield slightly to the touch.
To harvest, simply grasp the ripe tomato and gently twist it until it detaches from the stem. Be careful not to pull or tug too hard, as this can damage the plant or cause unripe tomatoes to fall. It’s recommended to harvest in the cool of the morning for the best flavor.
Once harvested, you can enjoy your cherry tomatoes right away, refrigerate them to extend their freshness or use them in a variety of dishes. Whether you’re tossing them in a salad, roasting them for a side dish, or simply enjoying them as a healthy snack, the taste of your own home-grown tomatoes is truly rewarding. Remember not to wash the tomatoes until you’re ready to use them, as this can hasten spoilage.
Common Problems and Solutions
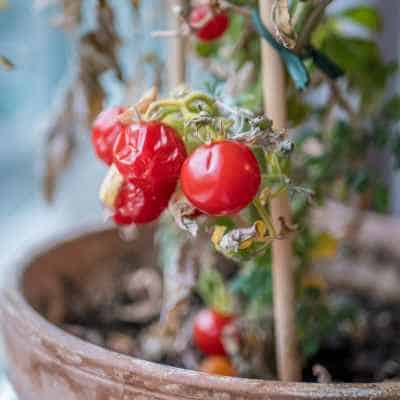
Despite best efforts, you may experience some problems while growing cherry tomatoes in pots. Here are a few common issues and their solutions.
Blossom End Rot: This condition causes the bottom of the tomato, the blossom end, to turn brown or black. It is usually caused by a calcium deficiency. To prevent this, ensure your potting soil has plenty of calcium and is well-drained.
Leaf Curl: If the leaves of your tomato plants start to curl, it could be a sign of stress, often due to over-watering or heat stress. Ensure the plants are watered correctly, not too much or too little. During hot weather, try to provide some shade to the plants.
Insect Pests: Aphids and whiteflies are common insect pests that can harm your plants. You can use insecticidal soap or introduce natural predators like ladybugs to manage these pests.
Disease: Fungal diseases like blight or powdery mildew can affect tomato plants. To help prevent these, ensure good air circulation around the plants and avoid overhead watering. If a plant becomes infected, remove and dispose of it to prevent the disease from spreading.
Remember, growing plants is a learning process. Don’t be disheartened if you encounter these problems. With time and experience, you will be able to grow a healthy, productive pot of cherry tomatoes.
Conclusion
In conclusion, while gardening might seem intimidating at first, it’s a journey filled with opportunities for learning and growth. The challenges you face when nurturing your cherry tomatoes will lead to rewarding results: a pot brimming with vibrant, juicy fruits, and the satisfaction of knowing they’re the product of your own dedicated efforts. Remember, every gardener, experienced or novice, encounters setbacks – they’re just stepping stones on your path to becoming a seasoned grower. So, don’t hesitate to get your hands dirty. Embrace the learning process, stay patient, and relish the beauty of nature. You’re now armed with the know-how to start growing your own cherry tomatoes in pots. Here’s to the beginning of your green thumb journey!

