DIY Room Decor Crafts: 10 Easy and Budget-Friendly Ideas
The beauty of a space is not just about the expensive furnishings or high-end accessories, but also about the personal touch you add to it. DIY room decor crafts are a fantastic way to inject your personality into your surroundings while being mindful of your budget. These crafts are not just about aesthetics, but also about the joy of creating, the satisfaction of seeing your own creations adorning your space. This guide introduces you to 10 easy and budget-friendly DIY room decor crafts, from Macrame Wall Hanging to Homemade Candle Holders. But it’s not just about providing a list; we also offer step-by-step instructions to guide you through each project. So, whether you are a DIY newbie or a seasoned craftsperson, there’s something here for you. Plus, we’ll cover safety tips and the benefits of DIY crafts. Get ready to transform your space into a unique reflection of you.
Easy DIY Room Decor Crafts
Macrame Wall Hanging
Macrame wall hangings are a chic, affordable way to add texture and warmth to your walls. Their intricate knot patterns might seem intimidating at first, but with a little practice, you’ll be creating your own designs in no time. For this project, all you’ll need is some macrame cord, a wooden dowel or a piece of driftwood, and your hands. The beauty of macrame is that once you master a few basic knots, you can mix and match them to create a wide array of patterns and designs. This is a perfect craft for someone looking for a project that is both relaxing and rewarding. Plus, the end result will be a beautiful addition to your room decor that you can proudly say you made yourself.
Photo Collage Wall
A photo collage wall is a brilliant way to showcase your beloved memories and personalize your space. Creating a photo collage wall is a simple yet effective DIY project that only requires some photographs, picture frames or washi tape, and your creativity. You can choose a theme for your collage, such as family, friends, travel, or mix it all. Arrange the photos in a grid, in a heart shape, or even randomly for a more organic look. The key is to make it a visual representation of your life’s special moments. This project not only decorates your space but also allows you to relive those wonderful times each time you gaze upon your photo collage wall.
Painted Flower Pots
Painted flower pots bring a pop of color and personality to any room. They are an easy and fun DIY project that you can tailor to match your style or room theme. To begin this project, gather some terracotta pots, acrylic paints, and paintbrushes. You could also use stencils for more intricate designs. A simple way to dress up your pots is to paint them in one solid color and then add some geometric patterns, polka dots, or stripes for added interest. Alternatively, if you’re feeling adventurous, try painting a small landscape or abstract design on your pots. Once the paint dries, your new, personalized flower pots are ready to be filled with your favorite plants. This DIY project not only enhances your room decor but also provides a therapeutic outlet for expressing your artistic side.
DIY Pillow Covers
Pillows are an essential element in any cozy and inviting space. However, constantly buying new pillows to change up your decor can be expensive. A cheaper alternative is to make your own DIY pillow covers. This project allows you to customize the design, size, and fabric of your pillow covers for a unique touch. All you need is some fabric, sewing supplies, and a bit of creativity. You can choose to sew your covers or use fabric glue for a no-sew option. Mix and match different patterns and textures to create dynamic and eye-catching pillow arrangements for your couch, bed, or chairs. This DIY project not only saves you money but also allows you to switch up your home decor whenever inspiration strikes.
Homemade Candle Holders
Candles are a beautiful addition to any room, adding warmth and ambiance. Instead of buying expensive candle holders, why not make your own? This DIY project is simple and only requires some glass jars or containers, craft supplies like paint, glitter, or washi tape, and candles. You can get creative with your designs by painting on different patterns or using stencils for a more intricate look. You can also repurpose old jars and containers for an eco-friendly option. Display your homemade candle holders on shelves, tables, or as centerpieces for a cozy and personalized touch to your home decor. So next time you light a candle to relax, you’ll be proud knowing you made the beautiful holder it sits in.
Budget-friendly Craft Materials
Crafting can be an expensive hobby, especially if you’re constantly buying new materials. However, there are many budget-friendly options that can still help you create beautiful crafts. Thrift stores and dollar stores are great places to find affordable materials such as fabrics, beads, and even tools like scissors and glue guns. You can also repurpose items from around your home like old t-shirts for fabric scraps or mason jars for storage containers. Don’t be afraid to think outside the box and get creative with your craft materials – you may be surprised at what unique and affordable crafts you can create.
Step-by-Step Instructions for Crafting Projects
Dive into the world of DIY crafting with our step-by-step instructions for a range of interesting projects. These instructions aim to guide both novices and experienced crafters alike, outlining each process with clarity and simplicity. From creating your own home decor to making personalized gifts, you’ll discover how fun and rewarding crafting can be. Let’s get crafting!
Macrame Wall Hanging Instructions
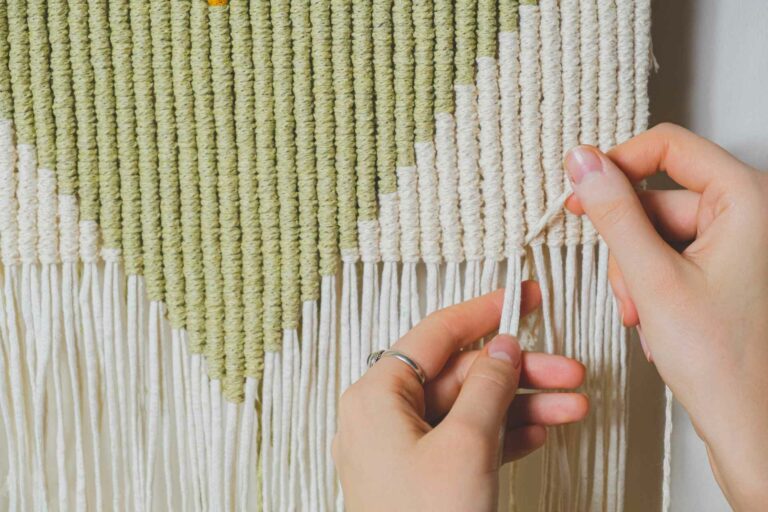
- Gather your materials: macrame cord, wooden dowel or branch, scissors, and a ruler.
- Cut 8 cords to desired length (double the length you want your wall hanging to be plus a few extra inches for tying).
- Fold each cord in half and attach them to the dowel using a lark’s head knot.
- Divide the cords into 4 groups of 4, and tie a square knot with each group (left cord over middle cords, under right cord. Then right cord under middle cords and through loop on left side).
- Repeat step 4 until you reach your desired length.
- Once you’ve reached your desired length, gather all the cords together and tie another lark’s head knot around the dowel.
- Trim any loose ends and fluff out the fringe to your liking.
- Hang up your new macrame wall hanging and admire your handiwork!
Instructions for Photo Collage
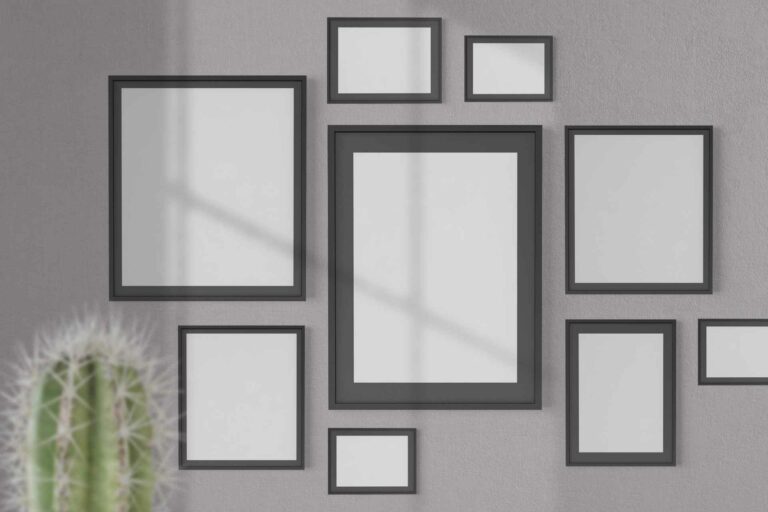
- Gather your favorite photos, either physical prints or digital copies.
- Choose a base for your collage, such as a canvas, poster board, or large photo frame.
- Lay out the photos on the base in different arrangements until you find one that you like.
- Use adhesive (such as glue or double-sided tape) to secure the photos onto the base.
- You can also add other elements to your collage, such as stickers, magazine cutouts, or quotes.
- Allow the collage to dry completely before displaying it in your home or giving it as a gift.
Instructions for Painted Flower Pots
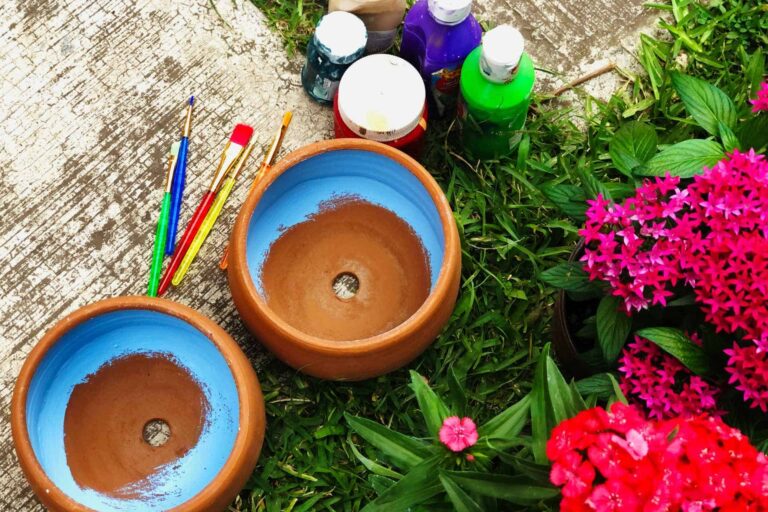
- Gather small terracotta pots and acrylic paint in your desired colors.
- Prepare a workspace by covering it with newspaper or a drop cloth.
- Use a paintbrush to apply a base coat of paint to the entire pot, allowing it to dry completely before moving on.
- Once the base coat is dry, use different colors to create patterns or designs on the pot.
- You can also use stencils or tape to create clean lines and shapes on the pot.
- Allow the paint to dry completely before applying a clear sealant for protection.
- Once the sealant is dry, your painted flower pots are ready to be used as decoration or to plant small flowers or herbs in them.
Instructions for DIY Pillow Covers

- Gather your materials – you’ll need fabric of your choice, scissors, pins, a sewing machine, and a pillow insert or old pillow you want to cover.
- Measure and cut your fabric. You’ll need two pieces – one for the front and one for the back. Make sure to add an inch to each side for the seams.
- Place the two pieces of fabric right sides together and pin around the edges.
- Using the sewing machine, sew around the edges of the fabric pieces, leaving a small gap unsewn.
- Turn the pillow cover right side out through the unsewn gap.
- Stuff your pillow insert or old pillow into the new cover.
- Hand sew the gap closed, and your DIY pillow cover is complete. You can now enjoy your new and unique home decor piece.
Instructions for Homemade Candle Holders
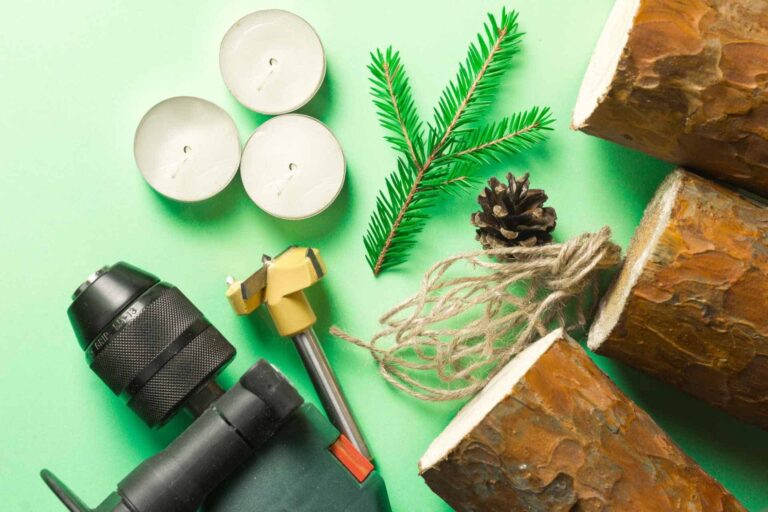
- Start by collecting the necessary materials – glass jars of varying sizes, tissue paper in different colors, mod podge, a paintbrush, and tea lights.
- Begin by cutting the tissue paper into small pieces or shapes of your choosing.
- Use the paintbrush to cover the outside of the glass jar with a layer of mod podge.
- Stick the pieces of tissue paper onto the jar, overlapping them slightly to create an interesting visual effect.
- Once you’ve covered the entire jar, apply another layer of mod podge over the tissue paper to seal it.
- Allow the jar to dry fully before using. To use, simply place a tea light inside the jar. The light from the candle will create a beautiful glow through the tissue paper, creating a cozy and warm atmosphere.
- Your homemade candle holder is ready. This makes a great decorative piece for your home or gift for a loved one.
Additional Ideas for DIY Home Decor
Considering the immense satisfaction and aesthetic appeal that DIY decor brings, one can explore the realm of wall art. All you need is a canvas, acrylic paint, and your creativity. Begin by choosing a color palette that complements the design of your room. Then, paint abstract shapes, geometrical patterns, or even a scenic landscape if you’re an advanced artist. Let the canvas dry and voile, your bespoke wall art is ready to elevate your room’s ambiance. This DIY decor project not only enhances your living space but is also an excellent way to express your artistic side.
Safety Tips before Starting Your DIY Project
When embarking on any DIY project, safety should be your top priority. Always wear appropriate protective gear, such as safety glasses, gloves, and a dust mask if you’re working with materials that produce dust or fumes. Ensure your workspace is clean and well-lit. Don’t rush your work, take your time and pay attention to what you’re doing. Always use tools and equipment correctly and for their intended purpose, and never leave them unattended especially if there are children in your vicinity. Regularly check your tools for any signs of wear or damage. Finally, if you’re working with flammable materials, keep them away from heat sources and have a fire extinguisher on hand. Remember, safety first!
Benefits of DIY Room Decor Crafts
DIY room decor crafts offer numerous benefits beyond the aesthetic appeal. Engaging in these projects stimulates creativity, providing an outlet for self-expression and individuality. It allows you to create custom pieces that reflect your taste and personality, making your space truly unique and personal. Moreover, DIY crafts can also be a rewarding and therapeutic activity, relieving stress and providing a sense of accomplishment. Economically, it provides a cost-effective alternative to store-bought decor, allowing for budget-friendly room transformations. Not to mention, it promotes sustainability by encouraging upcycling and repurposing of materials, thereby reducing waste. Lastly, it can be a fun and educational activity for children, fostering problem-solving skills, concentration, and hand-eye coordination.
Conclusion
DIY room decor crafts offer a multi-faceted range of benefits that go beyond merely enhancing the aesthetics of your space. These projects act as a catalyst for creativity and offer an avenue for self-expression, allowing you to personalize your space with custom pieces that reflect your distinct style and taste. This form of crafting serves as a therapeutic stress-reliever and provides a sense of accomplishment upon completion. Economically, DIY room decor is a cost-effective alternative to commercially bought items, enabling budget-friendly makeovers. It also fosters sustainability by promoting the repurposing and upcycling of materials, thereby reducing waste. For children, engaging in these projects can be an enjoyable learning experience, enhancing their problem-solving abilities, focus, and hand-eye coordination.

